Lessons from VizEd Vancouver

The fabulous Tracy Kelly of BC Campus invited me north to Vancouver to co-facilitate two workshops, one on graphic facilitation in higher education (“VizEd“), and the second a larger team collaborative Liberating Structures 2 day immersion workshop. In keeping with my debrief/reflection practice, here are my lessons from the sold-out GF workshop.

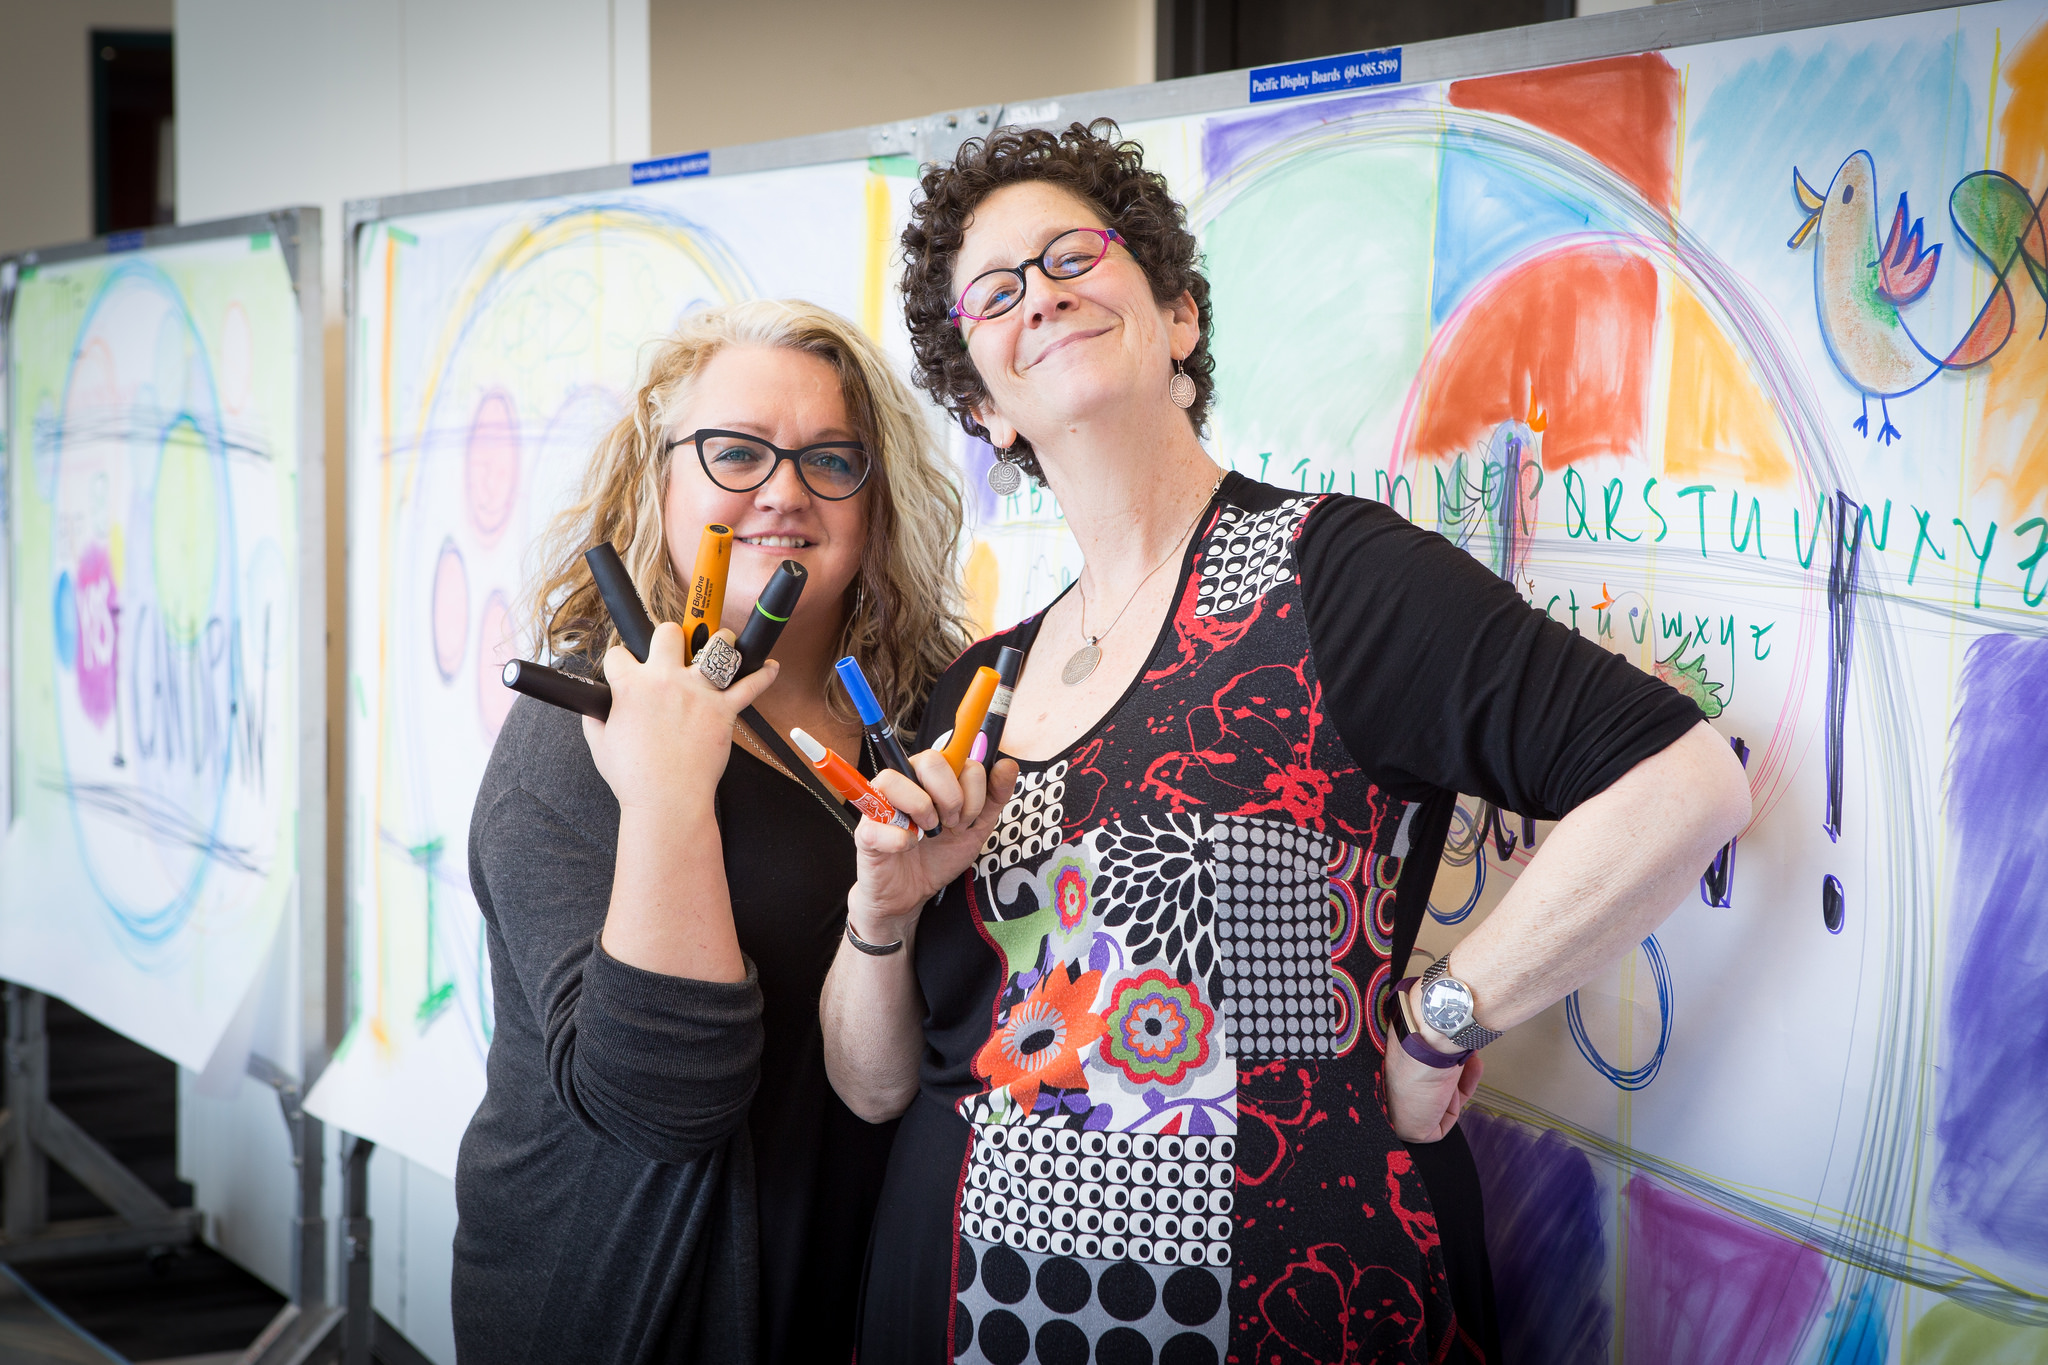
First, it was a joy to collaborate with Tracy. She has the domain skills and expertise and organizing mojo as icing on the cake. She attracts fun and interesting people to her BCCampus offering and she is has a deep sense of fun and playfulness. The whole package. So saying “yes” to Tracy is easy peasy.

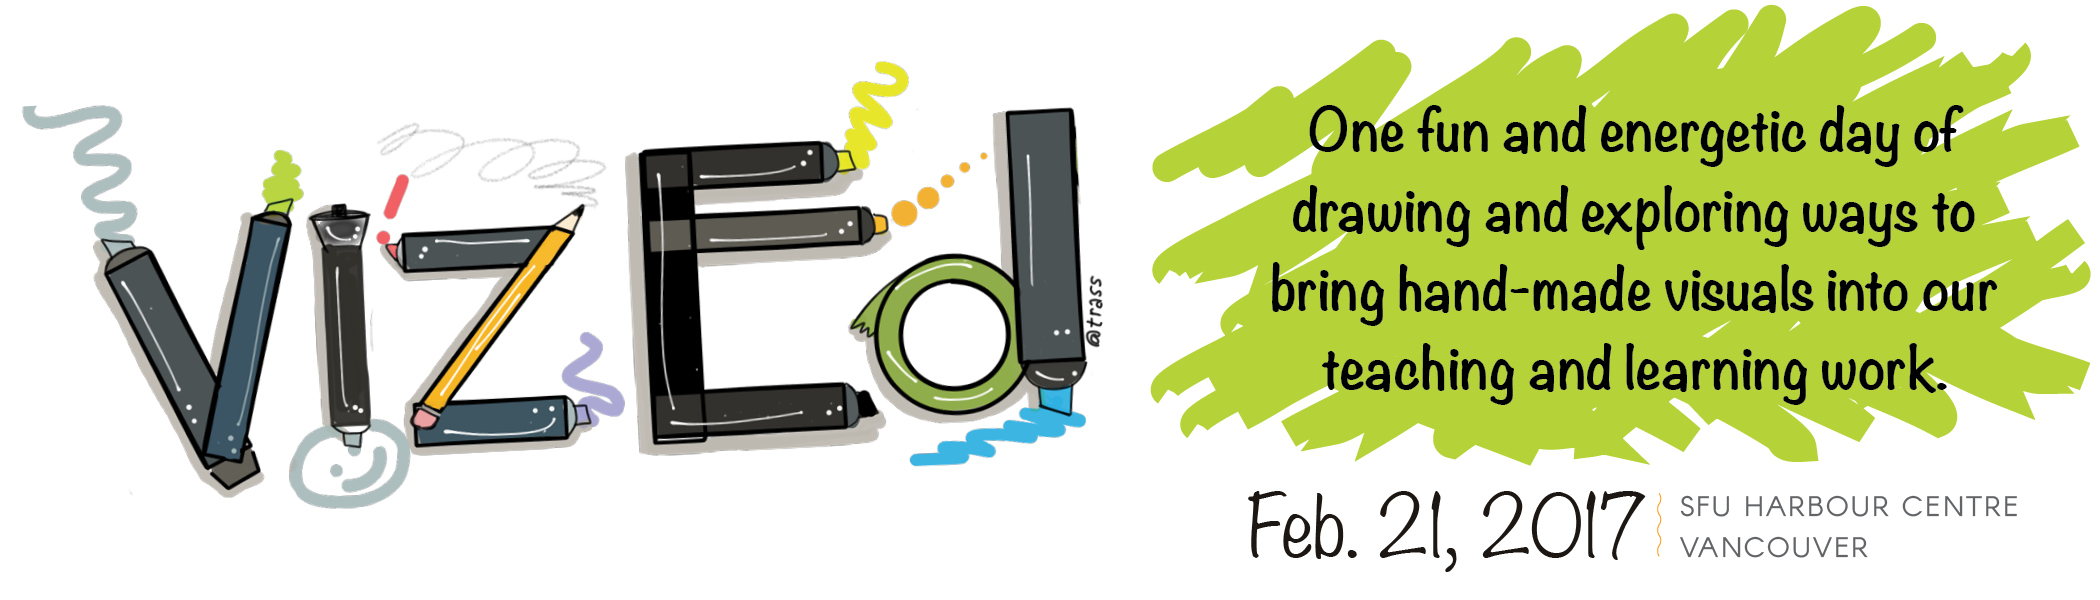
The registration information gave a clear snapshot of the day’s plan:

Join us for a hands-on, full-on day of exploring the opportunities and practices of bringing hand made visuals into our teaching and learning. (P.S. “handmade” can mean electronic too!)

We will warm up with some exercises to banish our inner critics, then explore practices for going visual in our work. Bring your challenges! Bring your ideas!  Bring your inner learner, your inner teacher and your inner child as we explore visual practices together.

What you can expect:

  • Tips and practice for basic drawing skills (Courage! Confidence! Color!)
  • Examples of visual exercises and activities, and where they might be useful in your work in higher education
  • Explore templates for collaborative visual meaning making
  • Experiment with the intersection of group process and visuals

THERE ARE NO “ARTIST” PRE-REQUISITES!

What we Planned

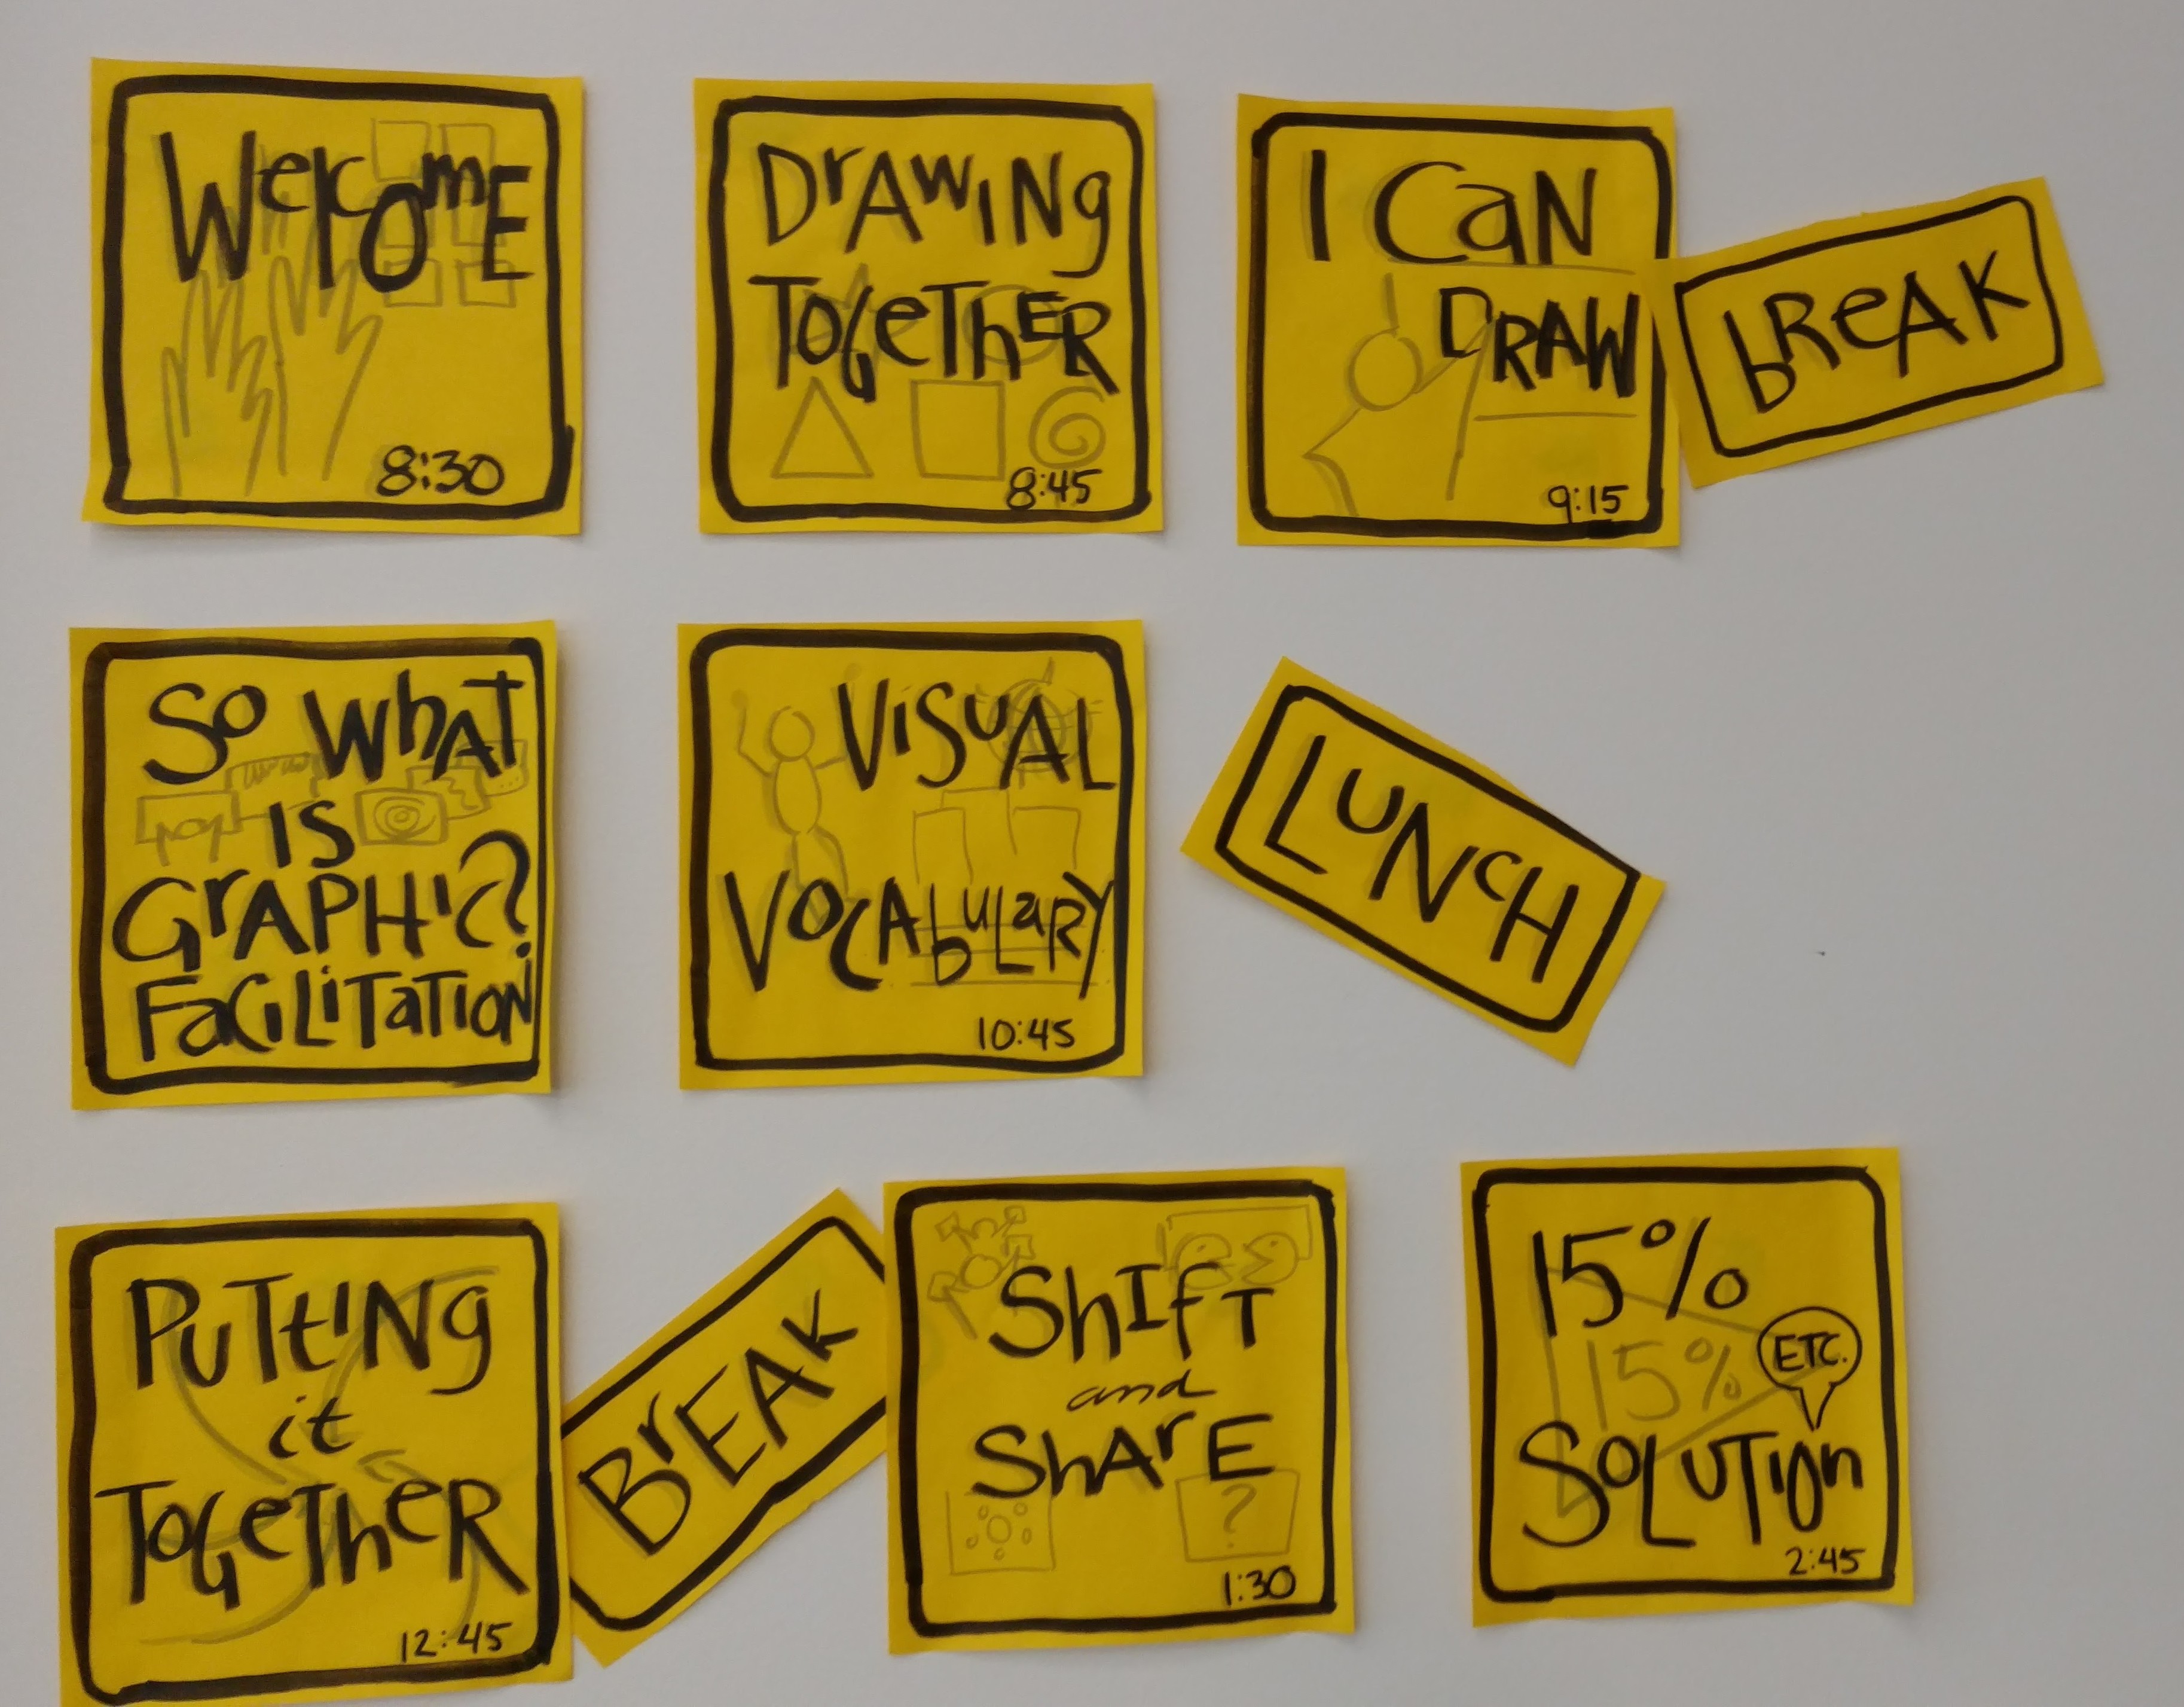
We iterated our agenda and then whipped it into final shape the night before. There were so many elements we wanted to include, but had only one day! We pulled exercises from both of our practices. It was interesting to see where we had developed different versions of  similar exercises. So we riffed and improvised across our two practices.

The basic building blocks included an visual self introduction using the Liberating Structures Drawing Together, my ever-ever-ever-beautiful favorite “I Can Draw” exercise I learned at an IFVP gathering in New Mexico years ago, a brief exposition of what comprises graphic facilitation, development of the elements of a visual vocabulary, and ways to put it together through space organization, templates and metaphors.

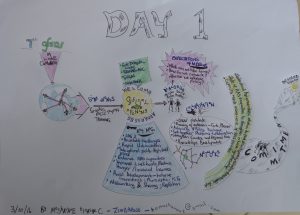
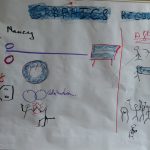
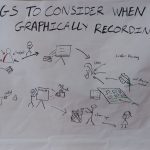
To put this together, we planned to give an overview of sketchnoting, then have them sketchnote/graphically record Tracy interviewing Jason Toal and I. Jason is another fab visual practitioner from SFU.

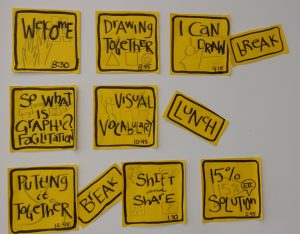
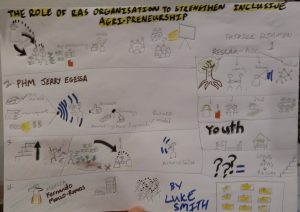
Then we planned to break into small participant driven groups to Shift and Share around four topics before identifying personal next steps and do a River of Life for evaluation. (Visual agenda on your right!)

What Happened

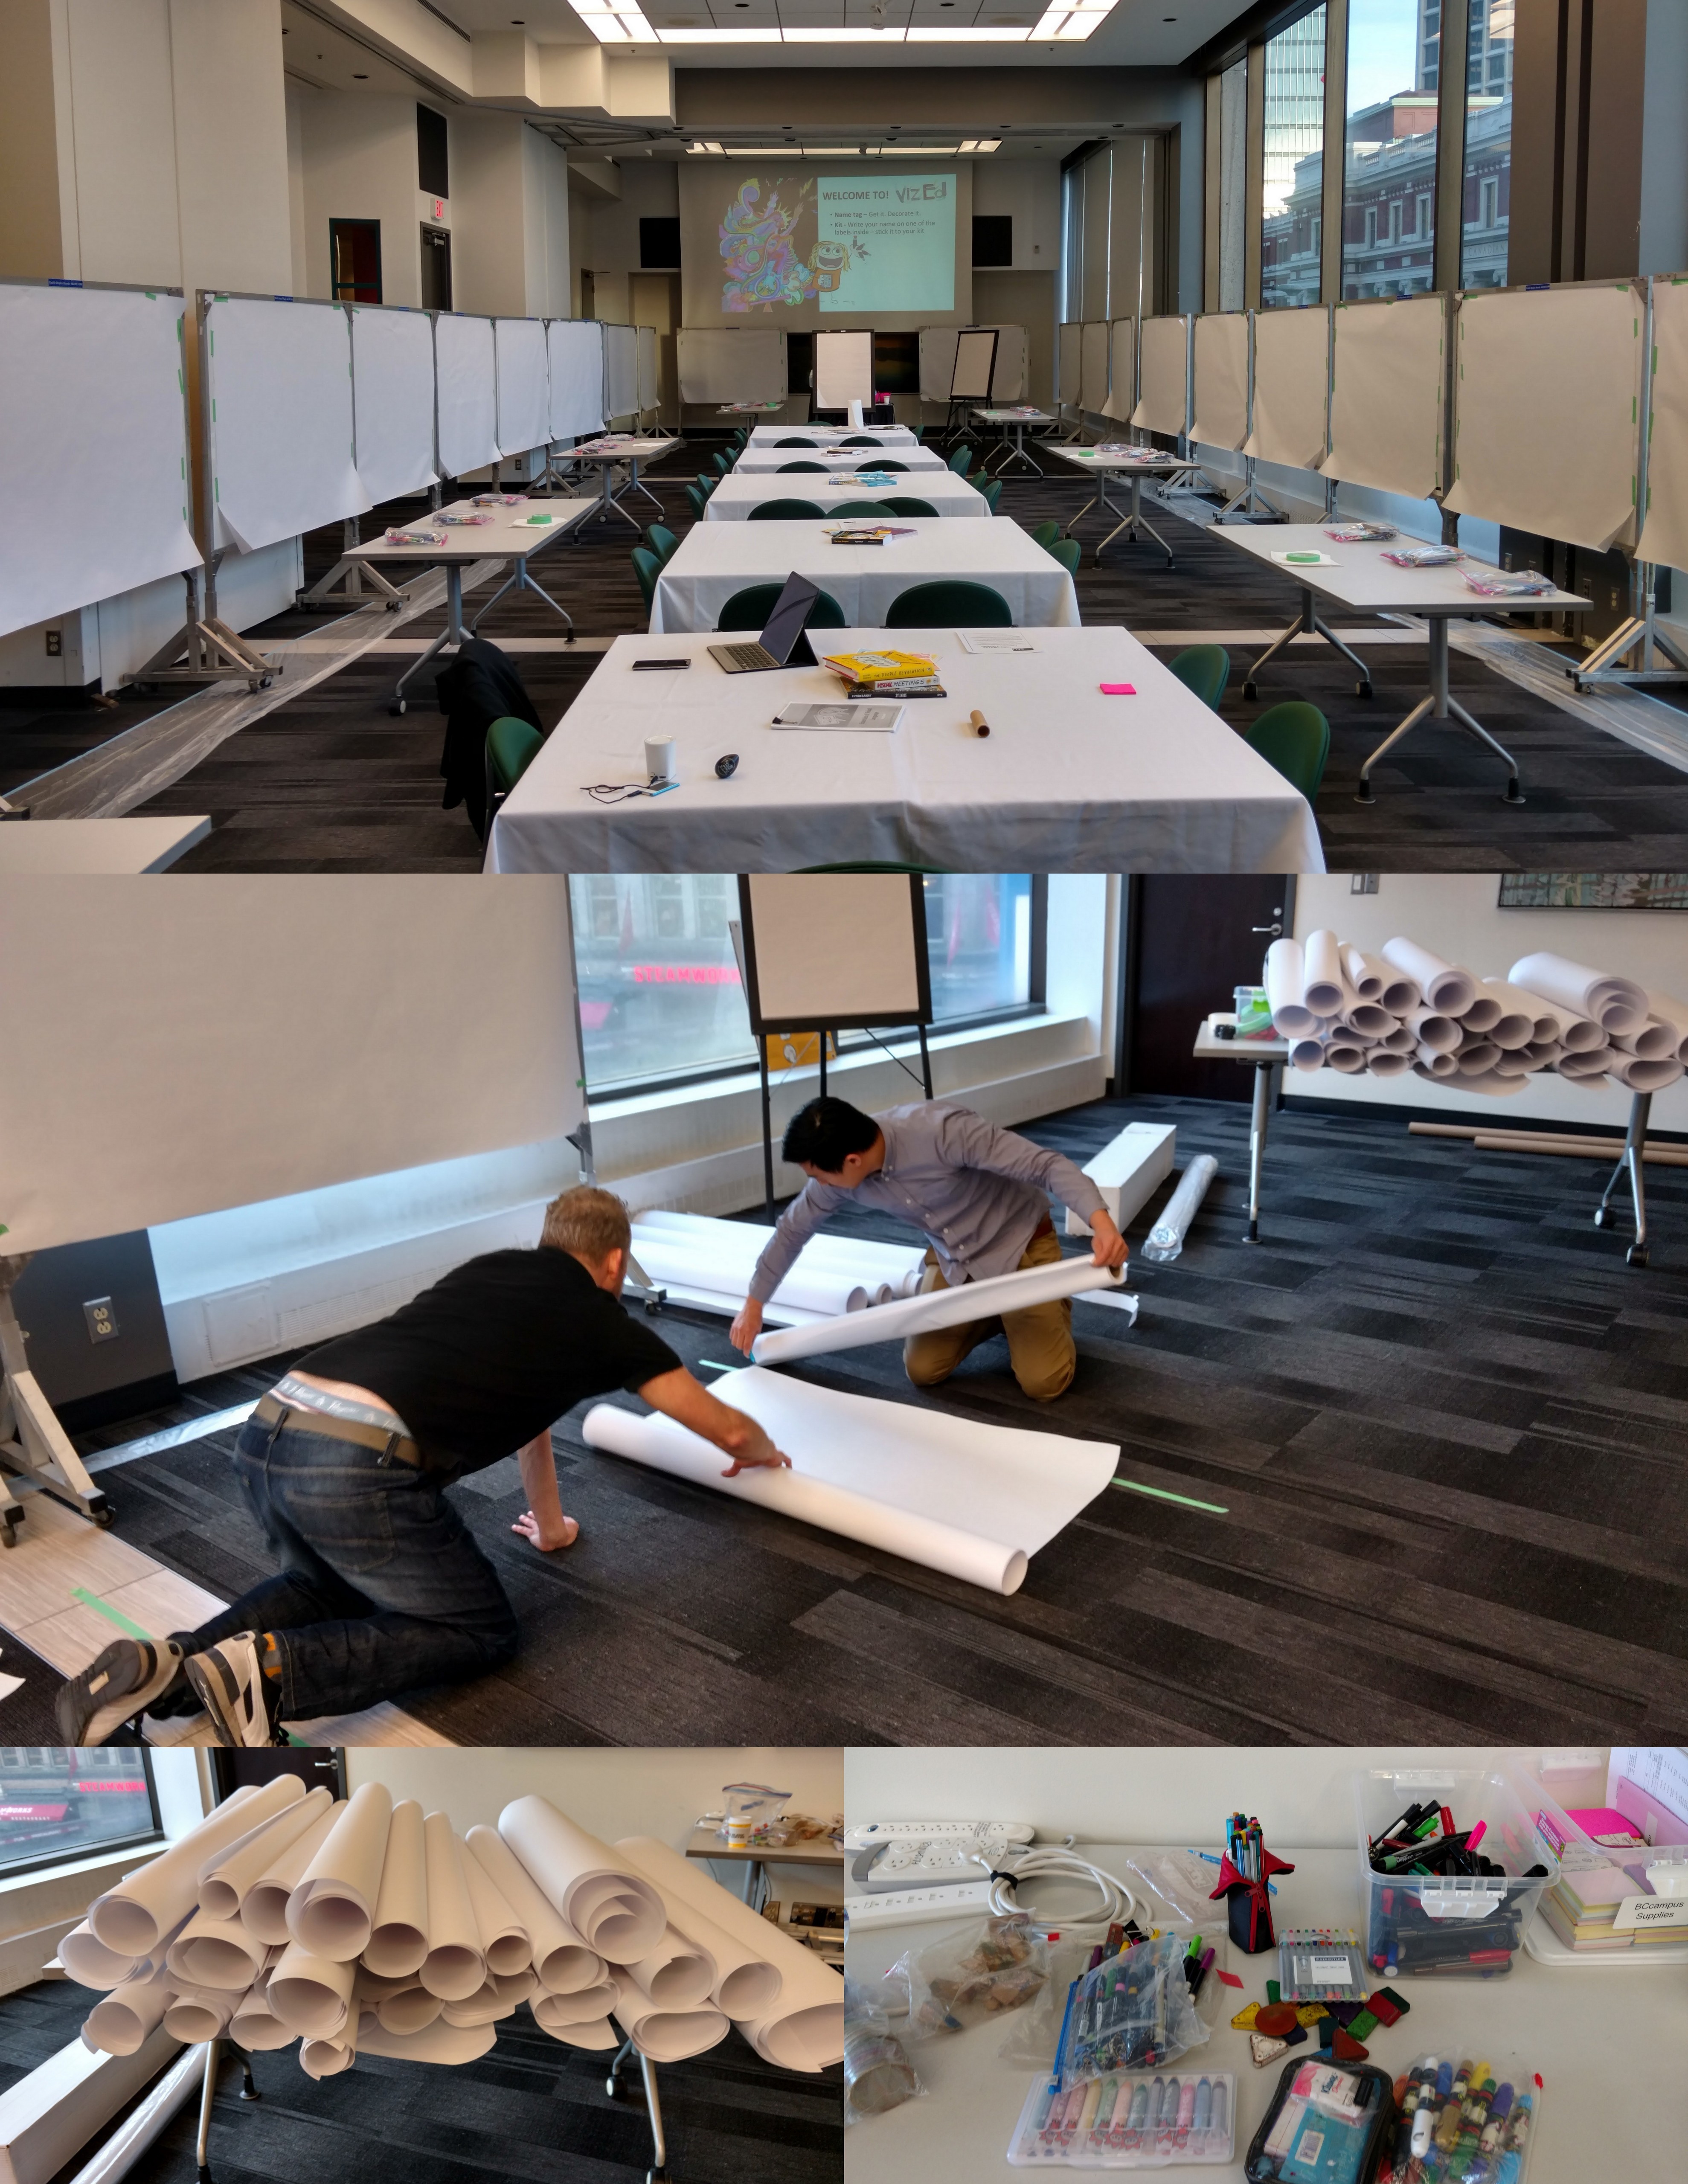
We had only an hour to set up the room, so we were blessed by a team of helpers who helped transform the pin boards into paper-covered drawing boards. Never underestimate the labor (or for my Canadian friends, labour!)  it takes to set up the room for a graphic facilitation workshop! We had packets with pens, pastels, eraser, pencil, “boo boo labels” and a few other things ready for everyone. People like their goodie bags!

The drawing practice itself is very physical and I’ve learned to encourage people to take care of their bodies right off. I am beginning to work more with communities comprised of people with very different physical and mental abilities. There is a lot I have to learn about useful accommodation.

Photo by : By BCCampus

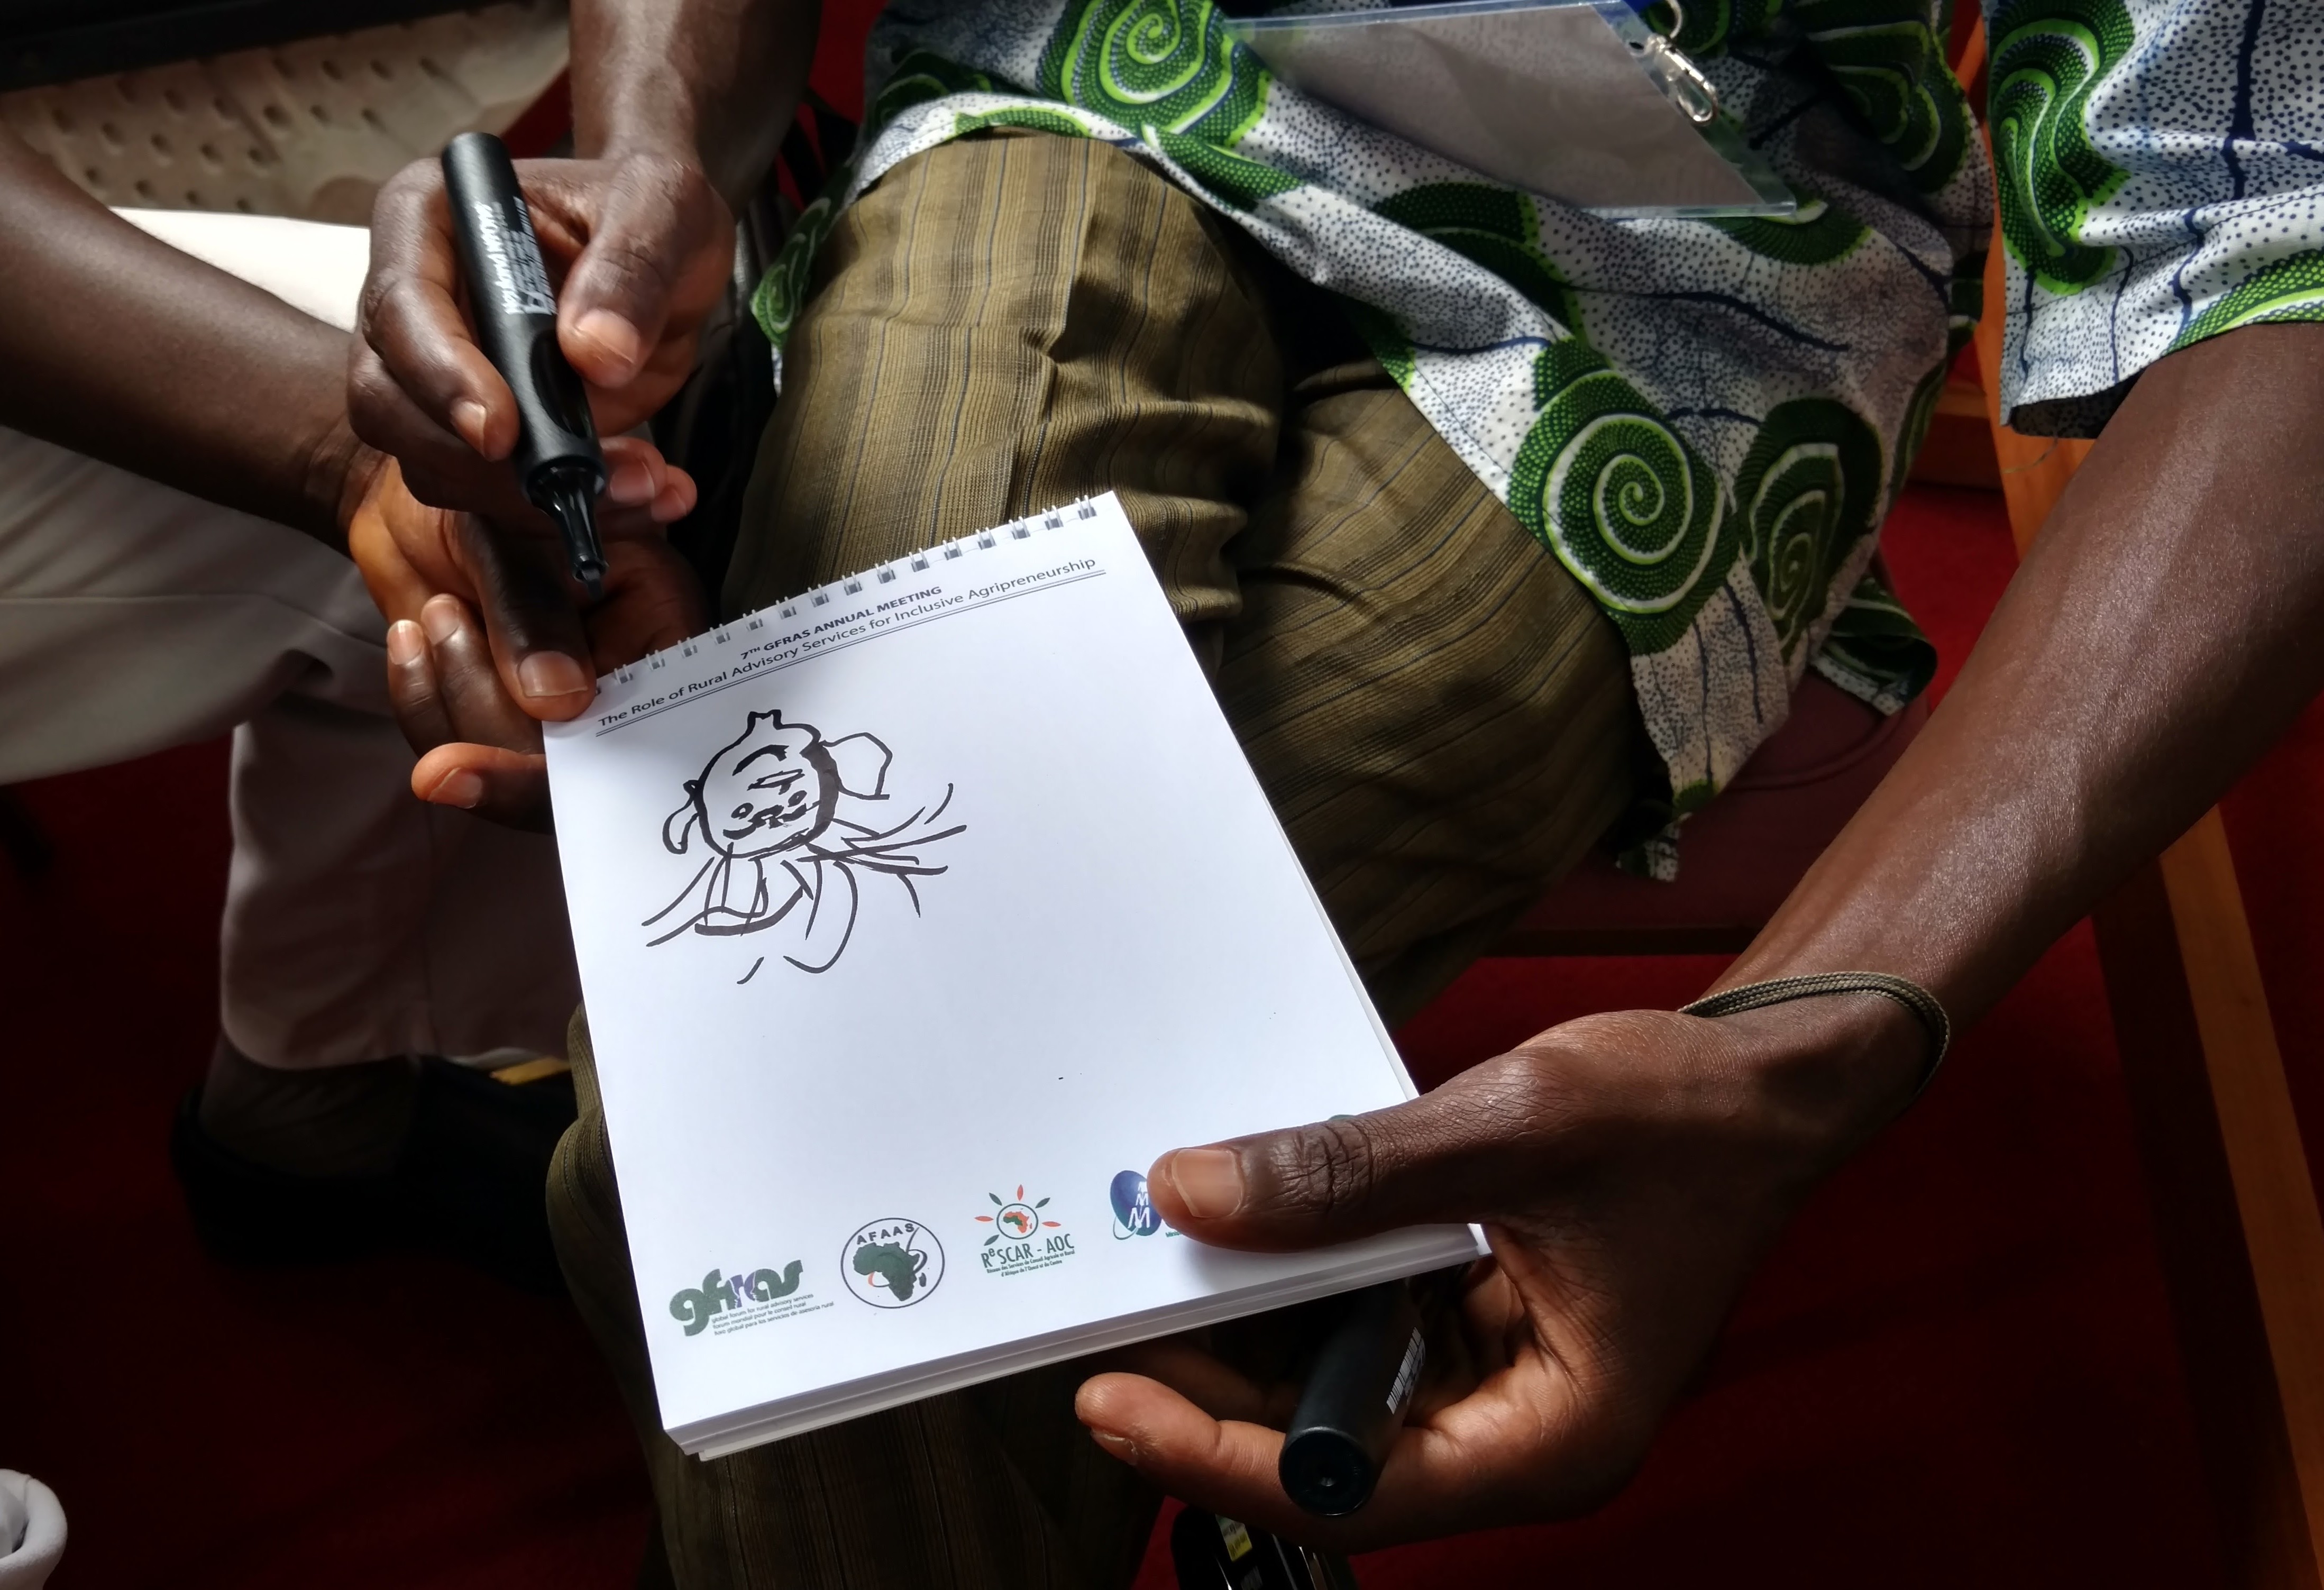
We had 26 people from various parts of the higher education ecosystem (with just a few classroom teachers). It was a quiet but fearless group. They stepped into every invitation, even at moments of “confusiasm.” They jumped into the self portrait with five simple shapes and used that as a basis for peer self introductions as we got to know each other.


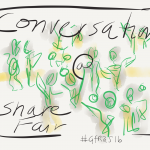
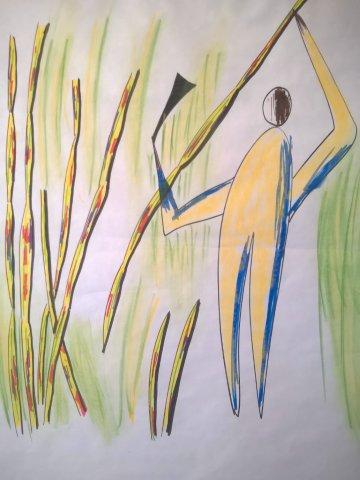
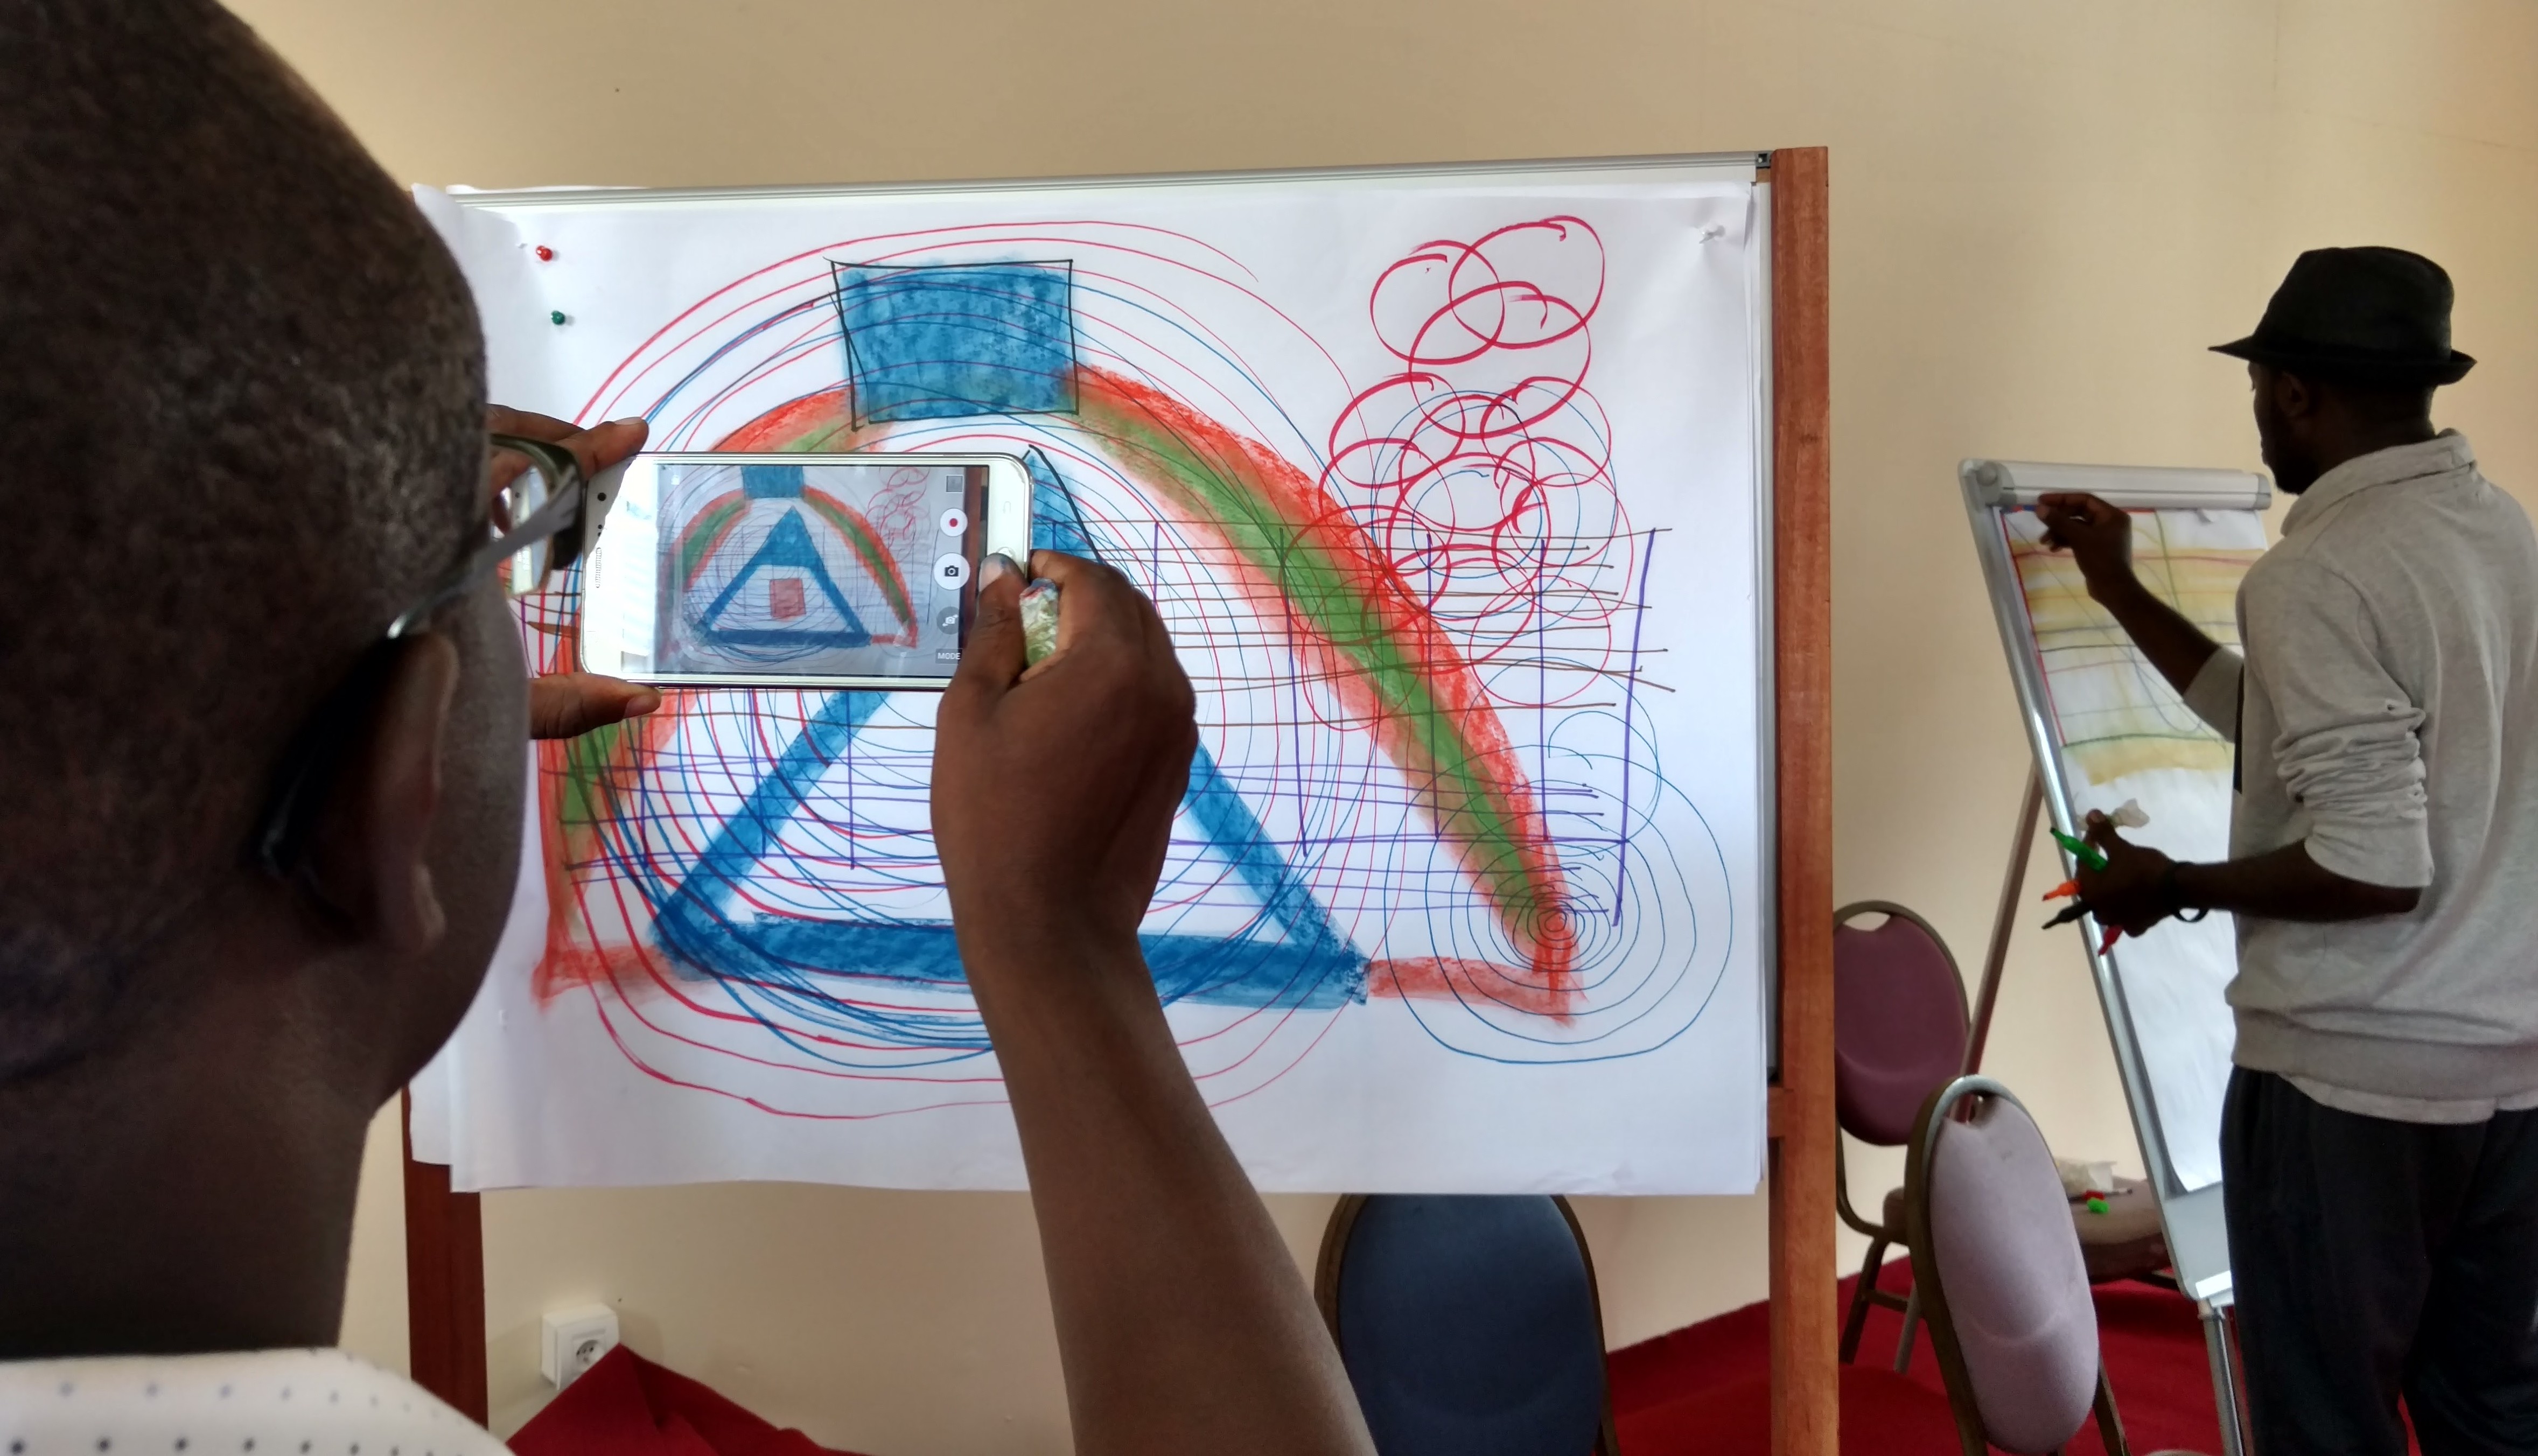
The “I Can Draw” is always a visual feast of color and beauty. That we can fill up a room in 30 minutes with such a visual richness never fails to stun me. So often people walk in with that “but I can’t draw” voice sitting on one shoulder, so this exercise is about freeing oneself of that voice.

We sprinkled some slides with some exposition about visual facilitation practices, mostly to situate the simple drawing practices into areas of application. In the higher education context, there are so many opportunities, from visual planning, visual engagement in the classroom, and visuals for constructing and sharing ideas and information. The main point was that we can incorporate visuals in so many places: we just need to remember to THINK about it!

Icon Drawing. Photo by BCCampus

Tracy had a great version of the “how to draw basic shapes and icons” that I had not experienced before.  Everyone started Round 1 at a blank canvas of large paper. We’d demo shapes and icons, they would practice, and we’d step back and look at each others work for inspiration. Supporting these rounds of drawing were resources on the table – various sets of icon cards to peruse and practice, depending on the relevance of an icon to a particular person’s work.

Then they would rotate to the canvas to their right for the second round. So instead of just working on “their” piece of paper, they were working on top of each other’s work. We debriefed not only the drawing, but this experience of layering our work. The rounds included:

  • Round 1 – circles & spirals with icons that include light bulbs, globes, spiral arrows, balloons, etc
  • Round 2 = squares, stars, triangles and arrows with icons like computers, phones, buildings, documents, books, barriers, wrenches
  • Round 3 = people – including star people, stick folks, bean people, spring people, and basic face structures to show a range of emotions. Here we also talked about the cultural implications of how we drew and used color for people. 

I liked this better than my version, which was to go from shapes, to people, to arrows and frames and finally to icons for two reason. The groupings helped break things into bite-sized pieces, and it accomplished the “writing over each others work” that I usually do in a separate exercise. So when time is tight, you get “two for one!”

Photo by by BC Campus

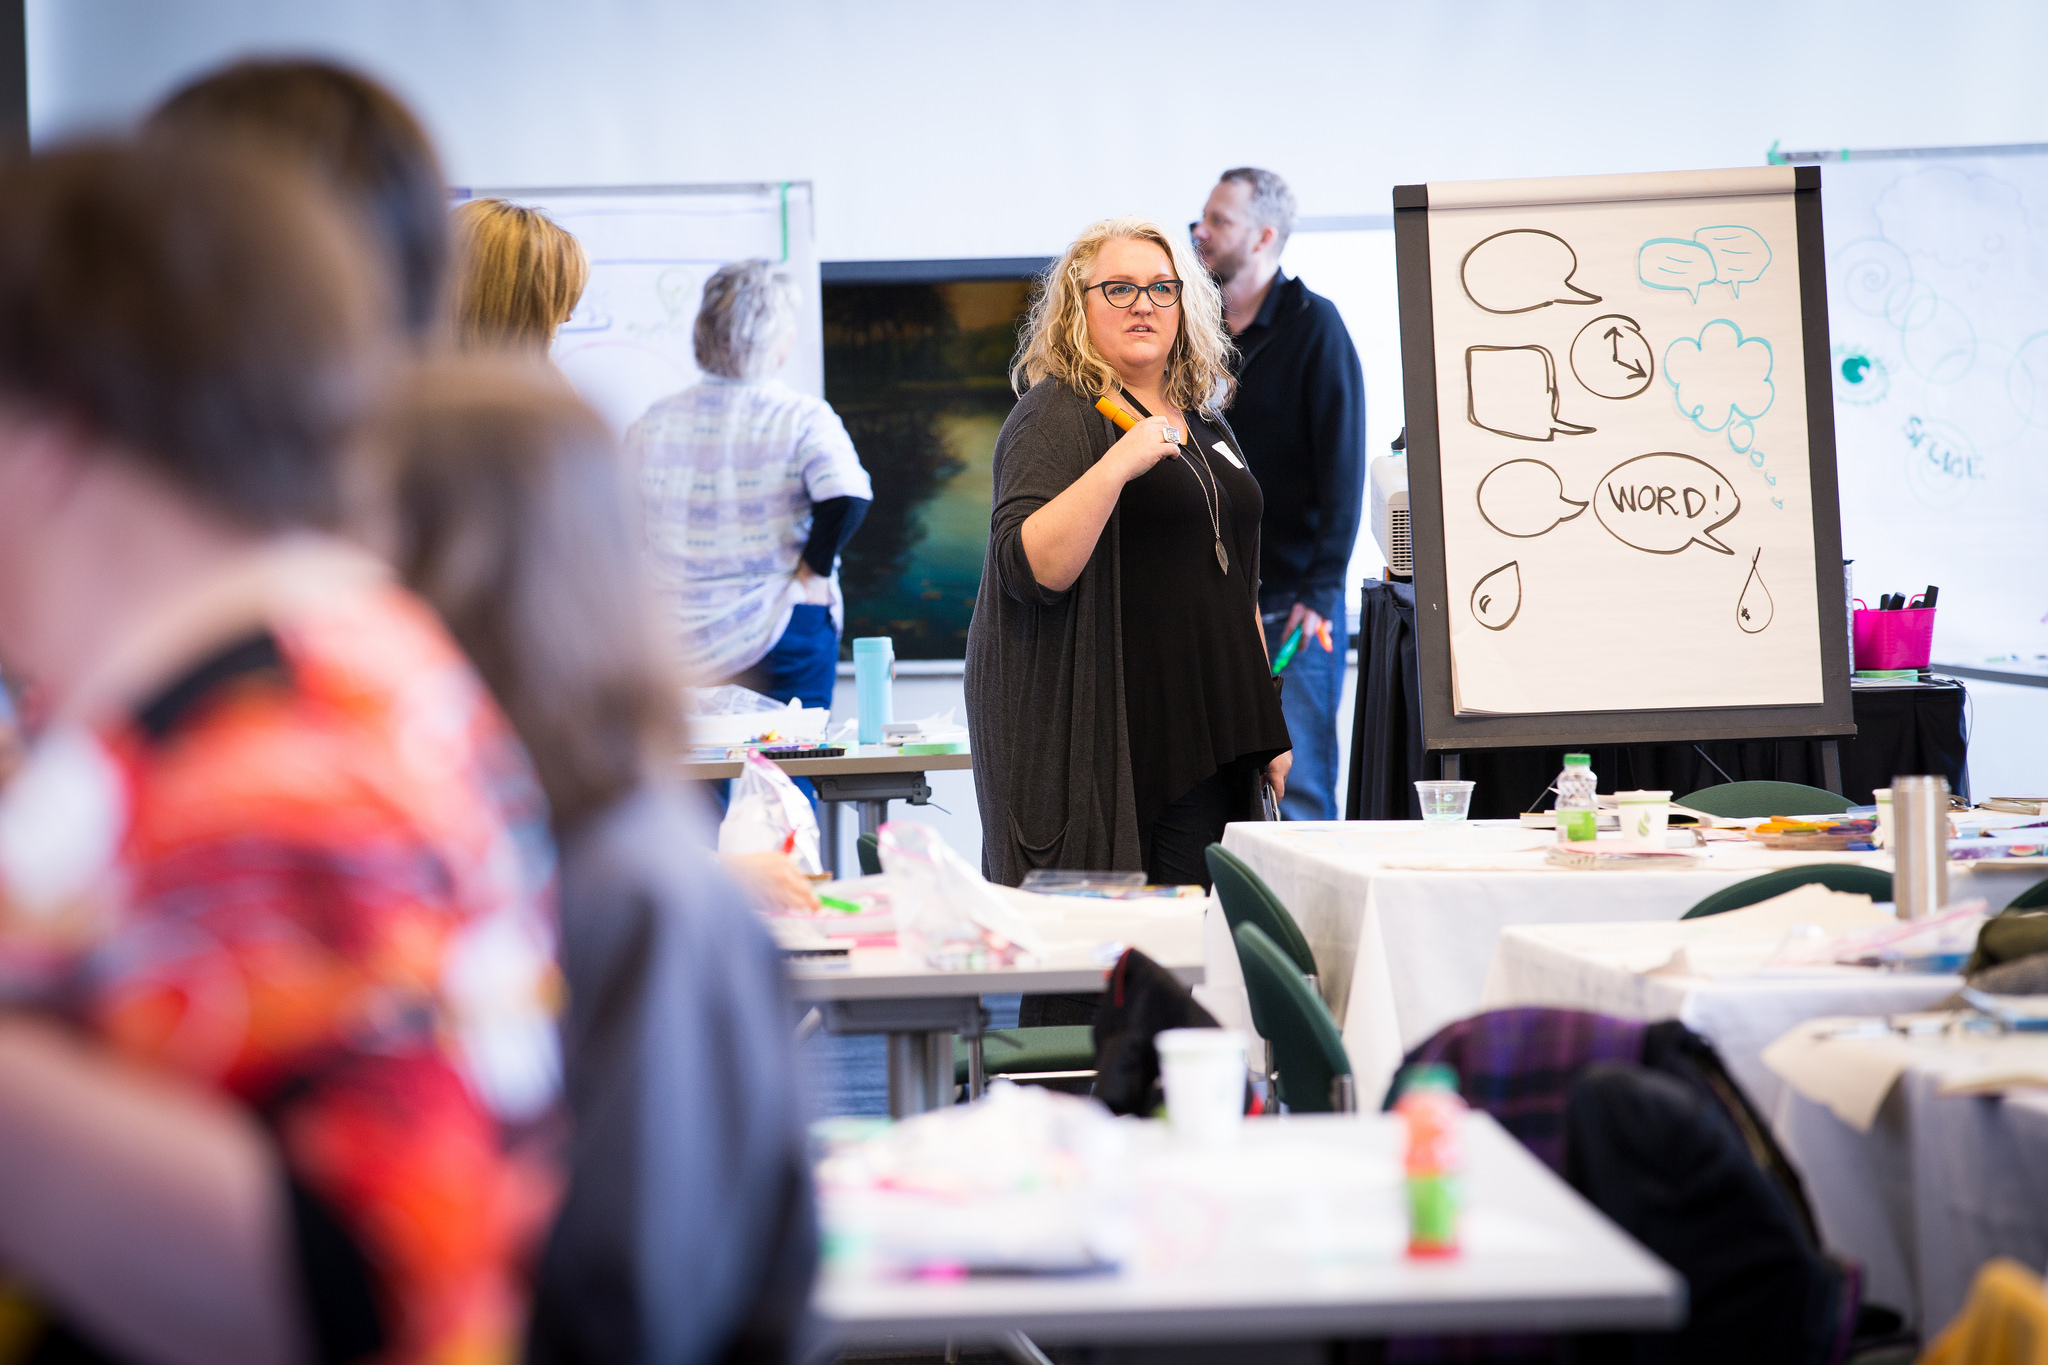
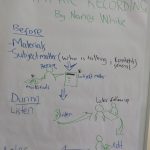
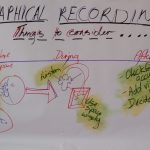
After lunch we gave a few more examples of how to unify and organize visual elements with frames, templates, layouts and metaphors. (Tracy introduced the term “grounds” for these things!) This warmed them up for their sketchnoting/graphic recording practice. Tracy again came up with a great idea for listening and capture practice with “VizEd Radio.” She had a set of domain related questions for Jason and I while people madly sketched, followed by a reflection on what it felt like to try and visually capture a conversation. For me it was great to listen to Jason’s reflection on his practice, and where we had similar and different experiences — important for seeing the diversity of this practice.

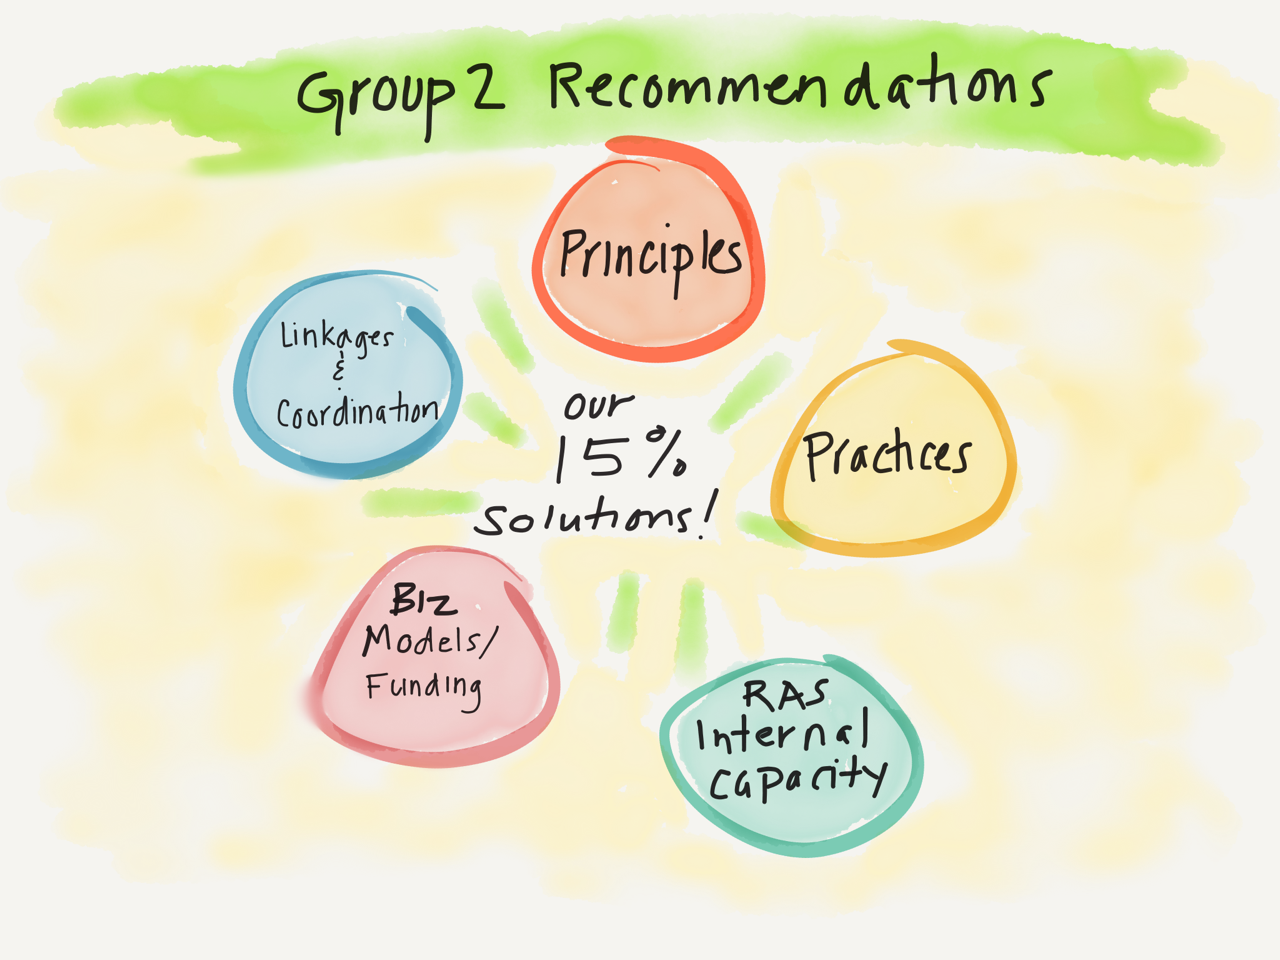
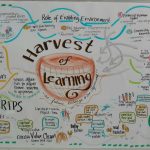
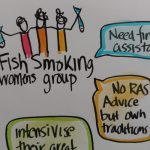
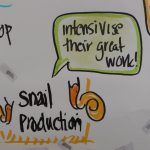
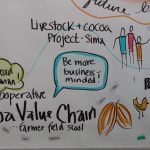
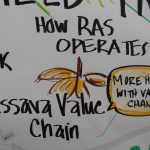
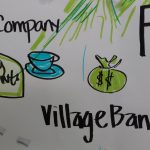
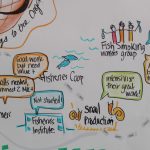
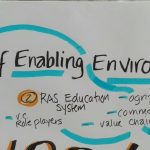
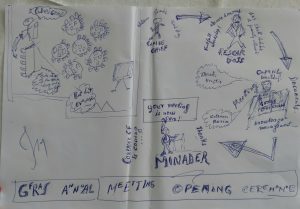
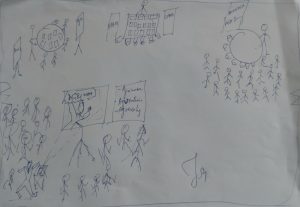
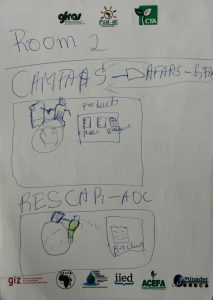
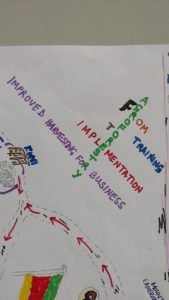
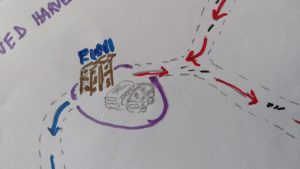
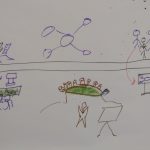
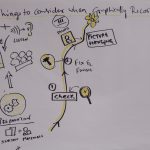
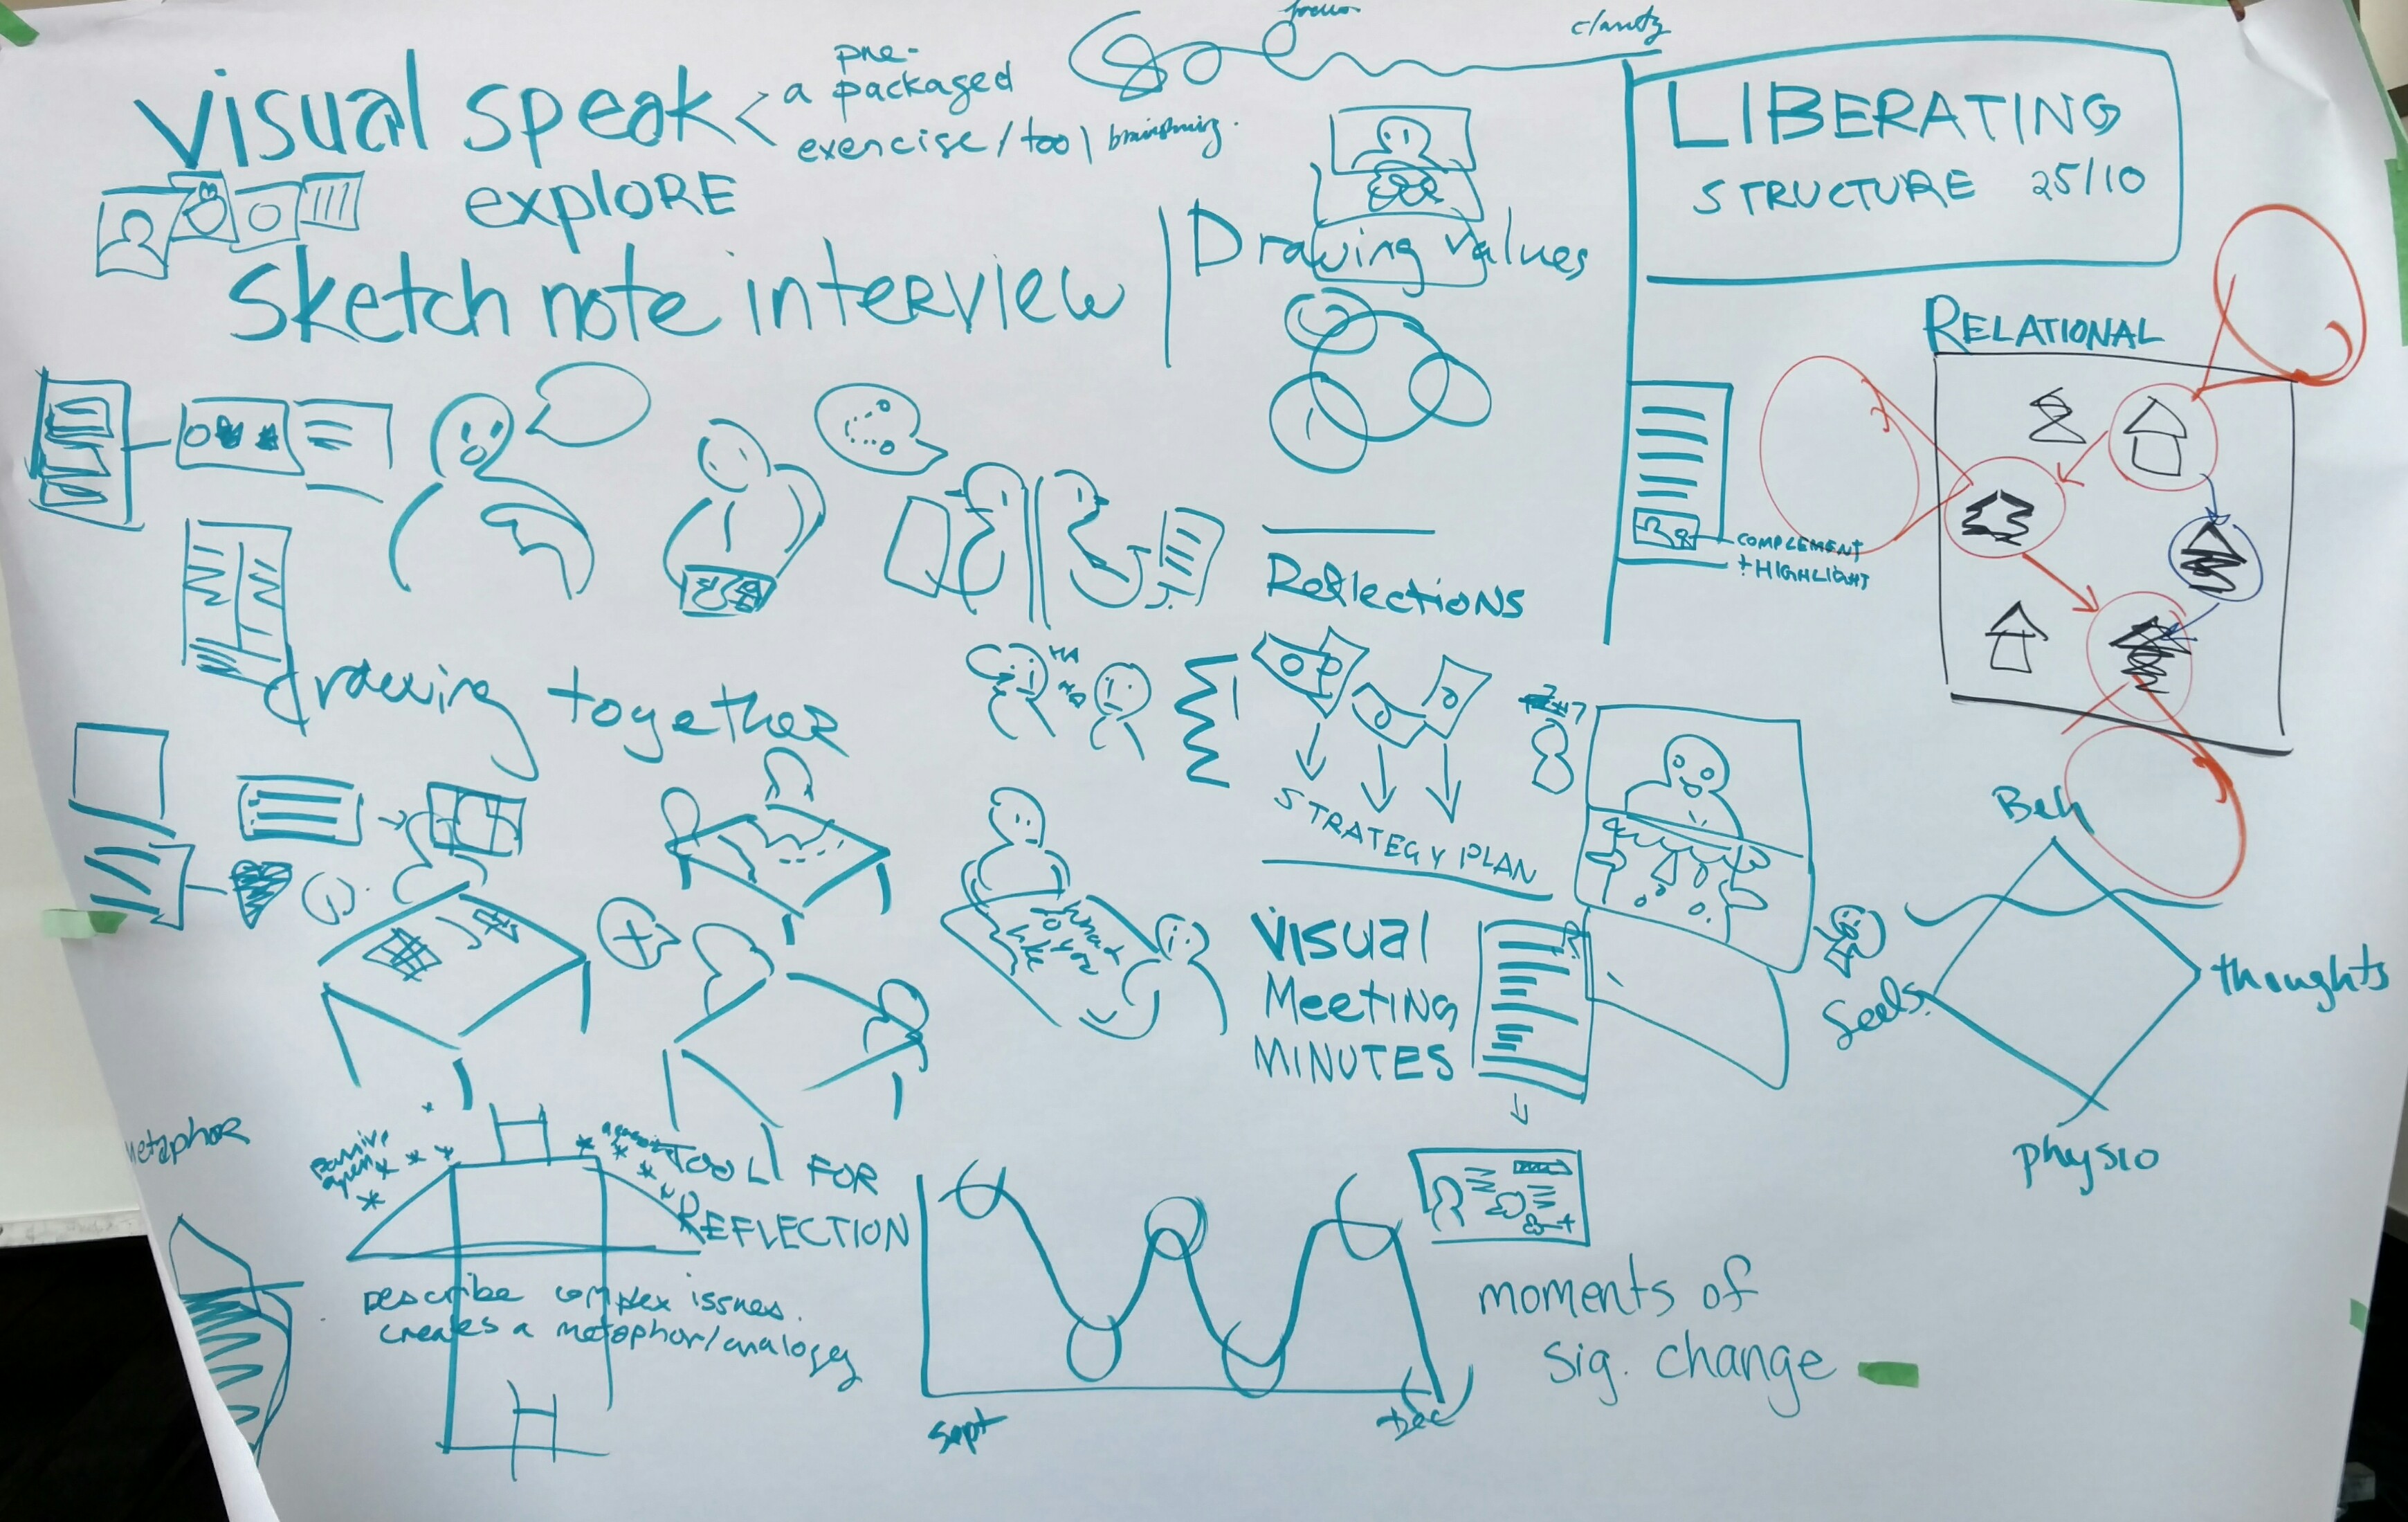
During the course of the day people had asked about specific elements of visual facilitation. Our Shift and Share session provided the chance to identify four of these areas for short, collaborative learning huddles. People could spend 15 minutes in each area, getting a taste, or hang out at one for the full hour. The four stations included digital recording, designing visual supports for specific facilitation practices, visuals and the classroom and  more on templates and layouts! I regret we did not do any good capture of these sessions. I think we all got lost in the interesting conversations and demonstrations. The photo above is all that remains. Harvest fail!

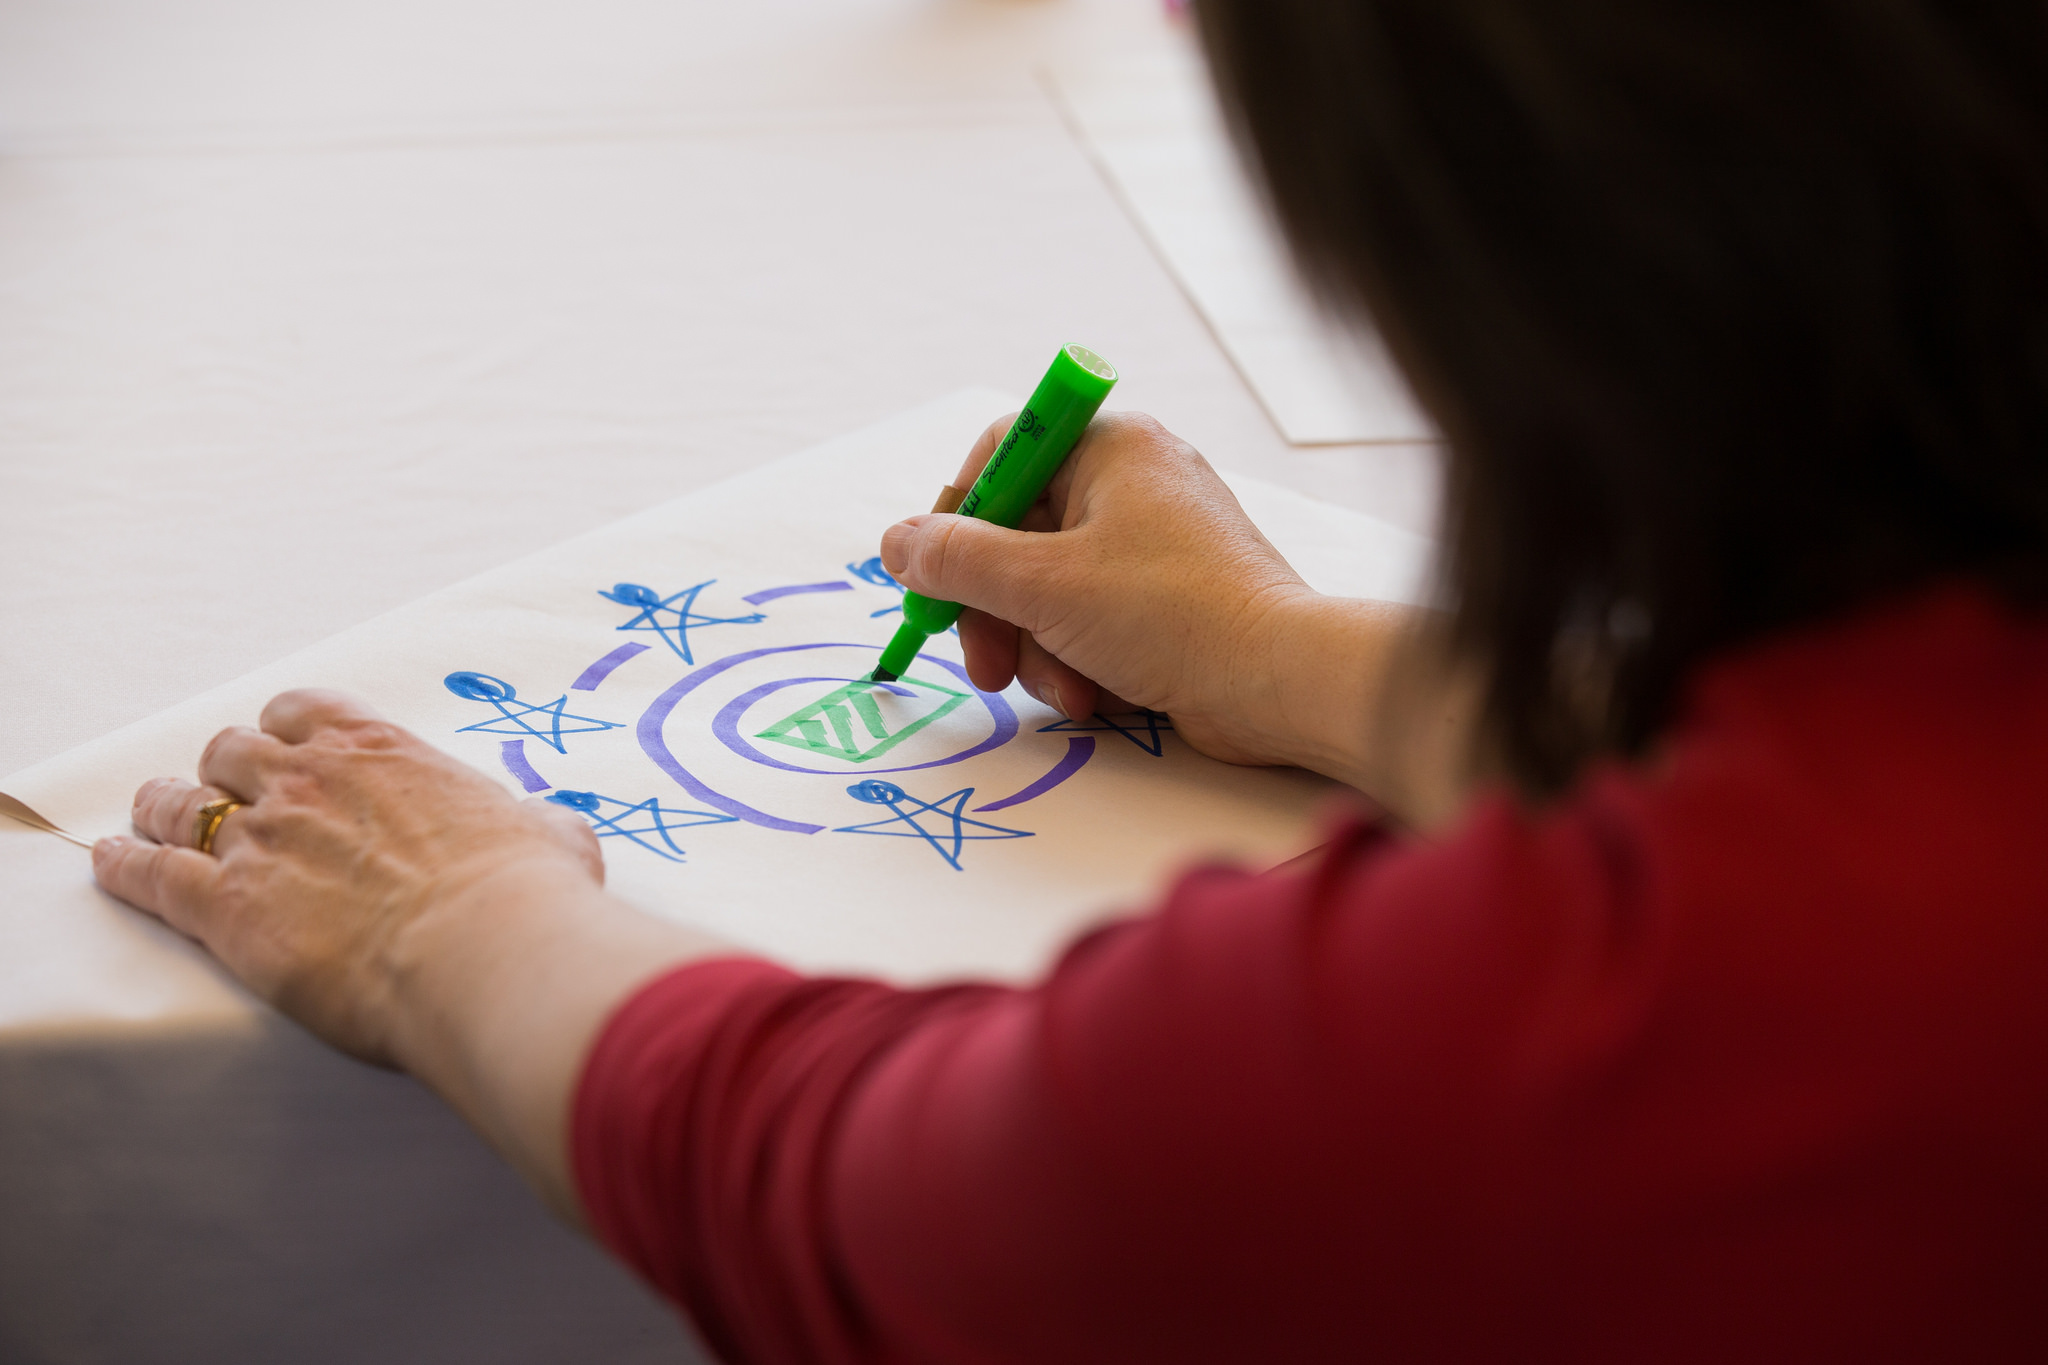
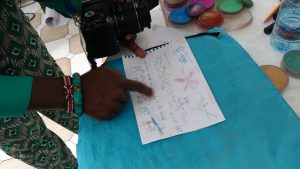
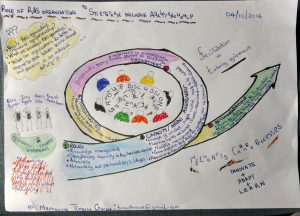
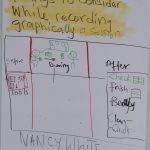
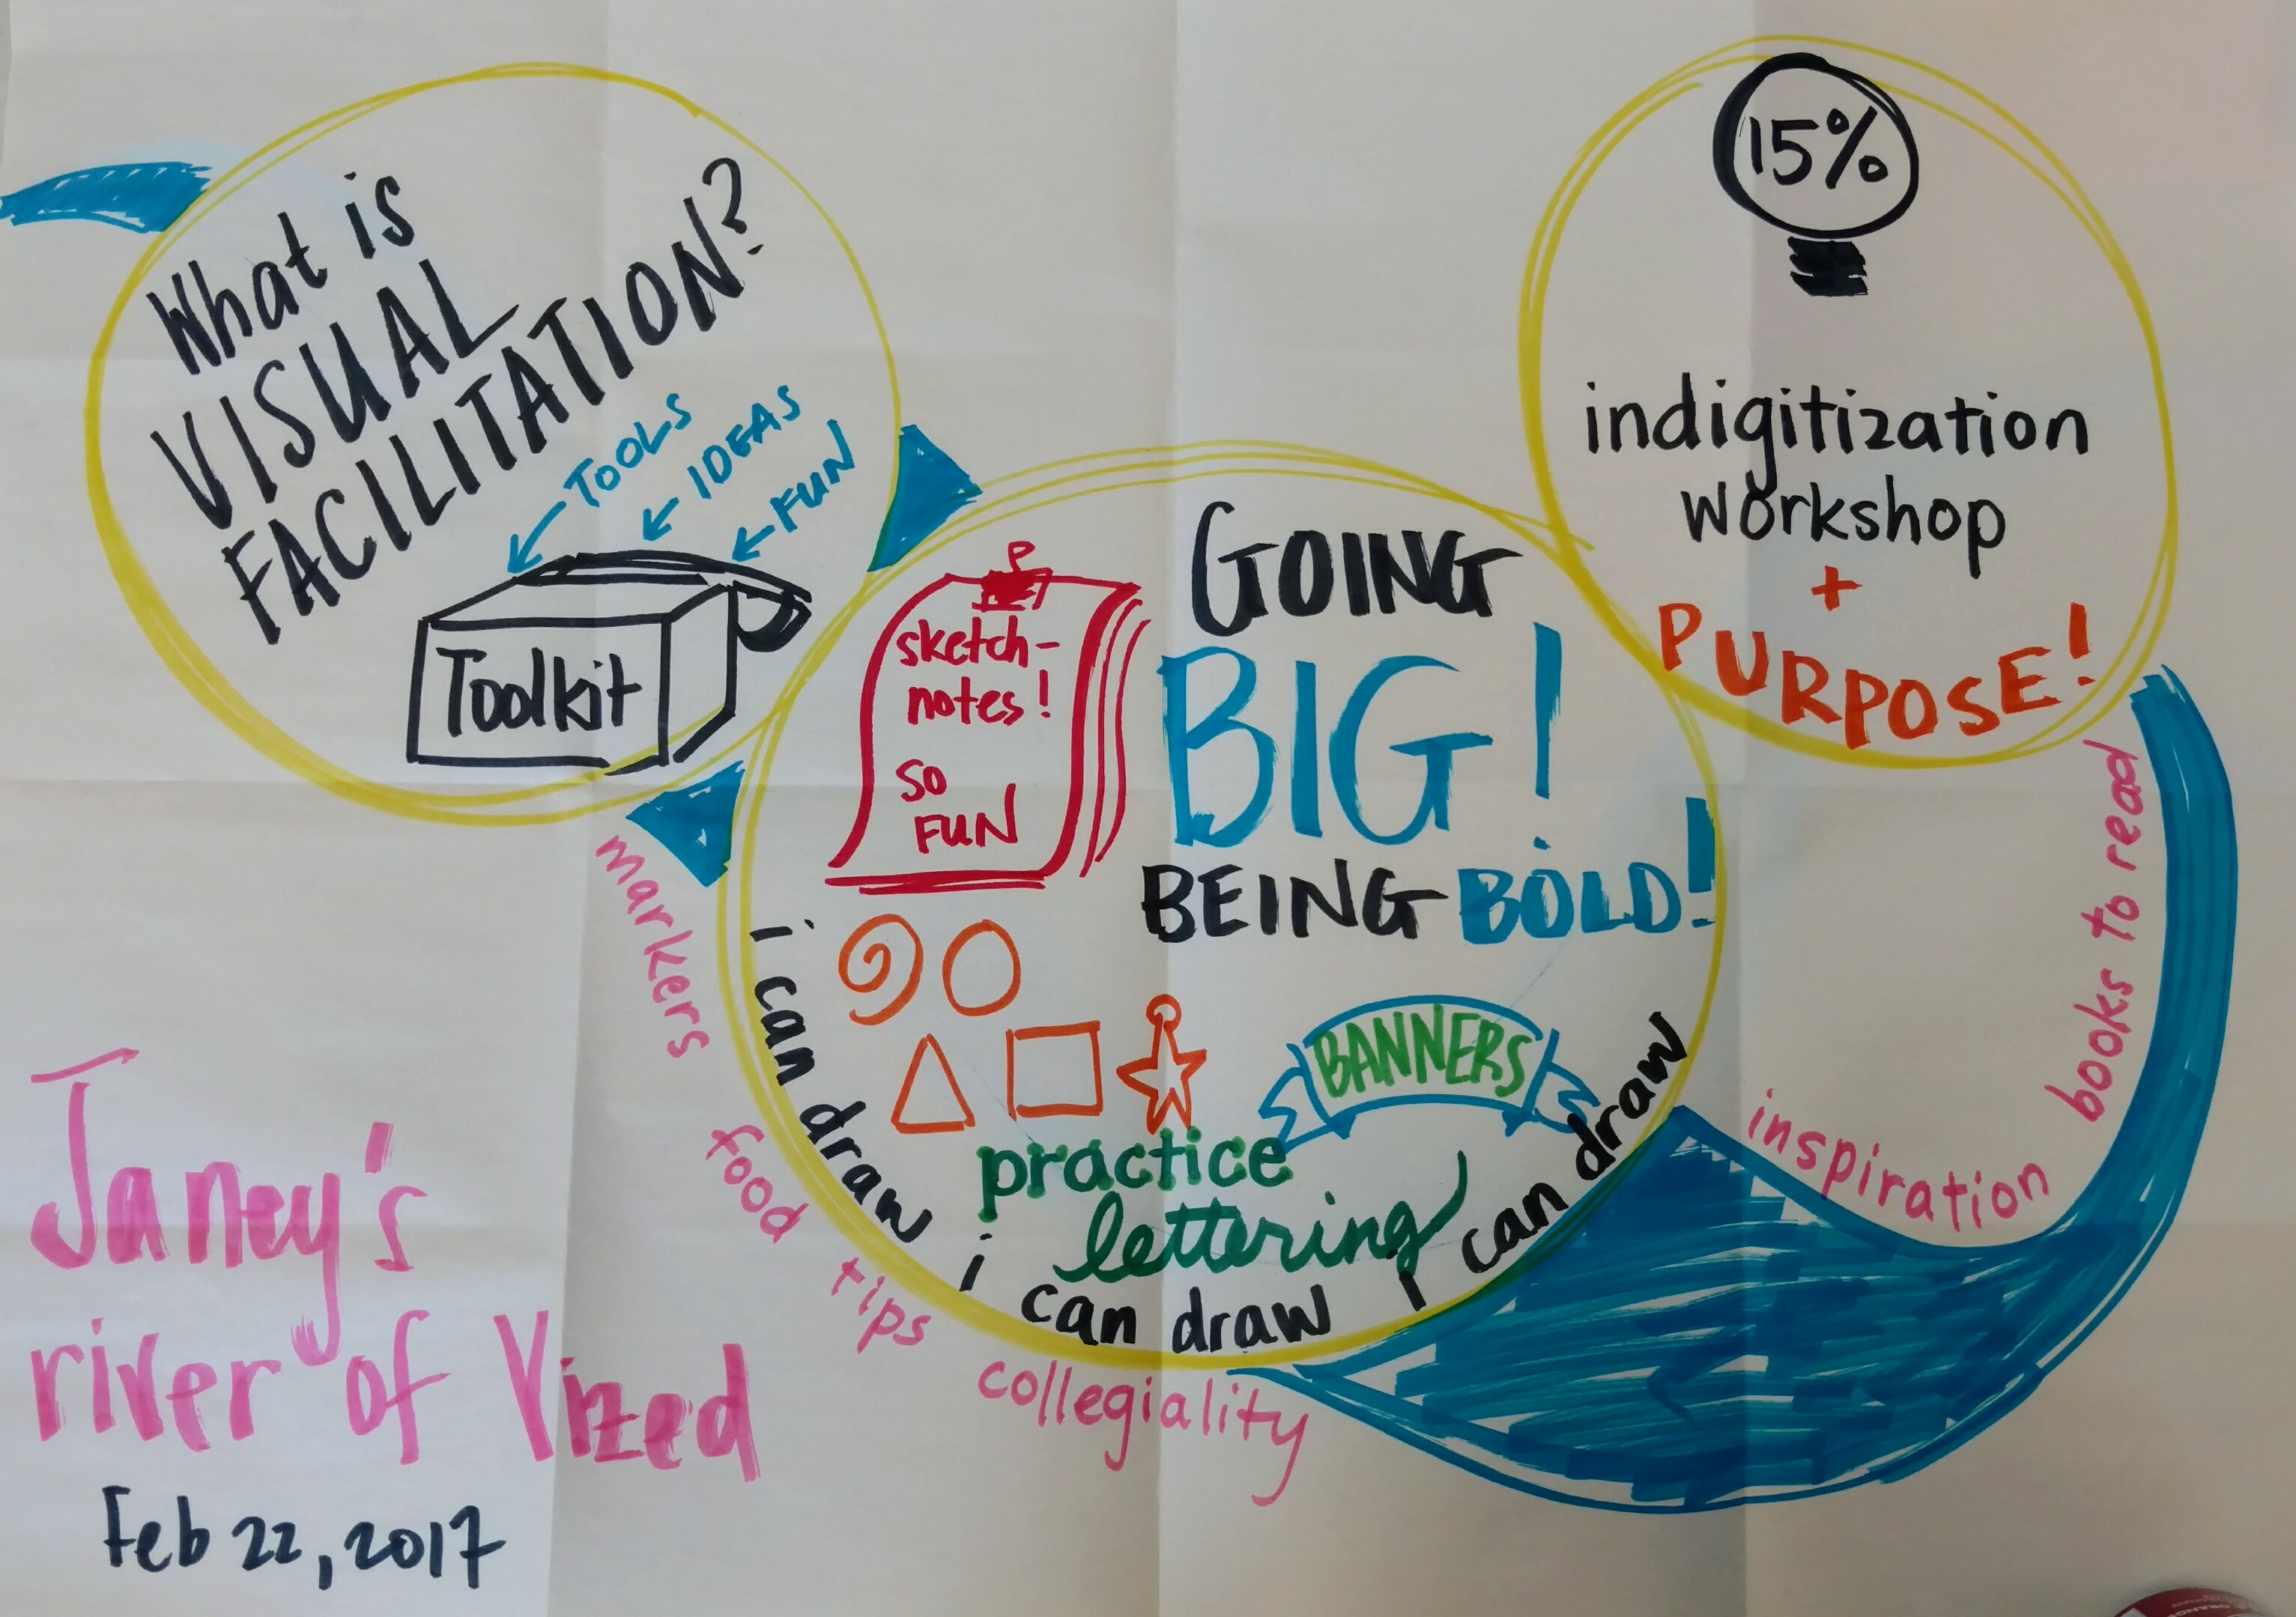
Finally, we asked people to think about how they would apply their new found/enhanced visual skills when they headed back to their classrooms and offices combined with a short visual reflection of their day. We used River of Life, where you visually draw a river, left to right. The upper left is the past: what you wanted out of or anticipated about the workshop, the middle is the present: what you learned, and the upper right is 
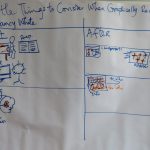
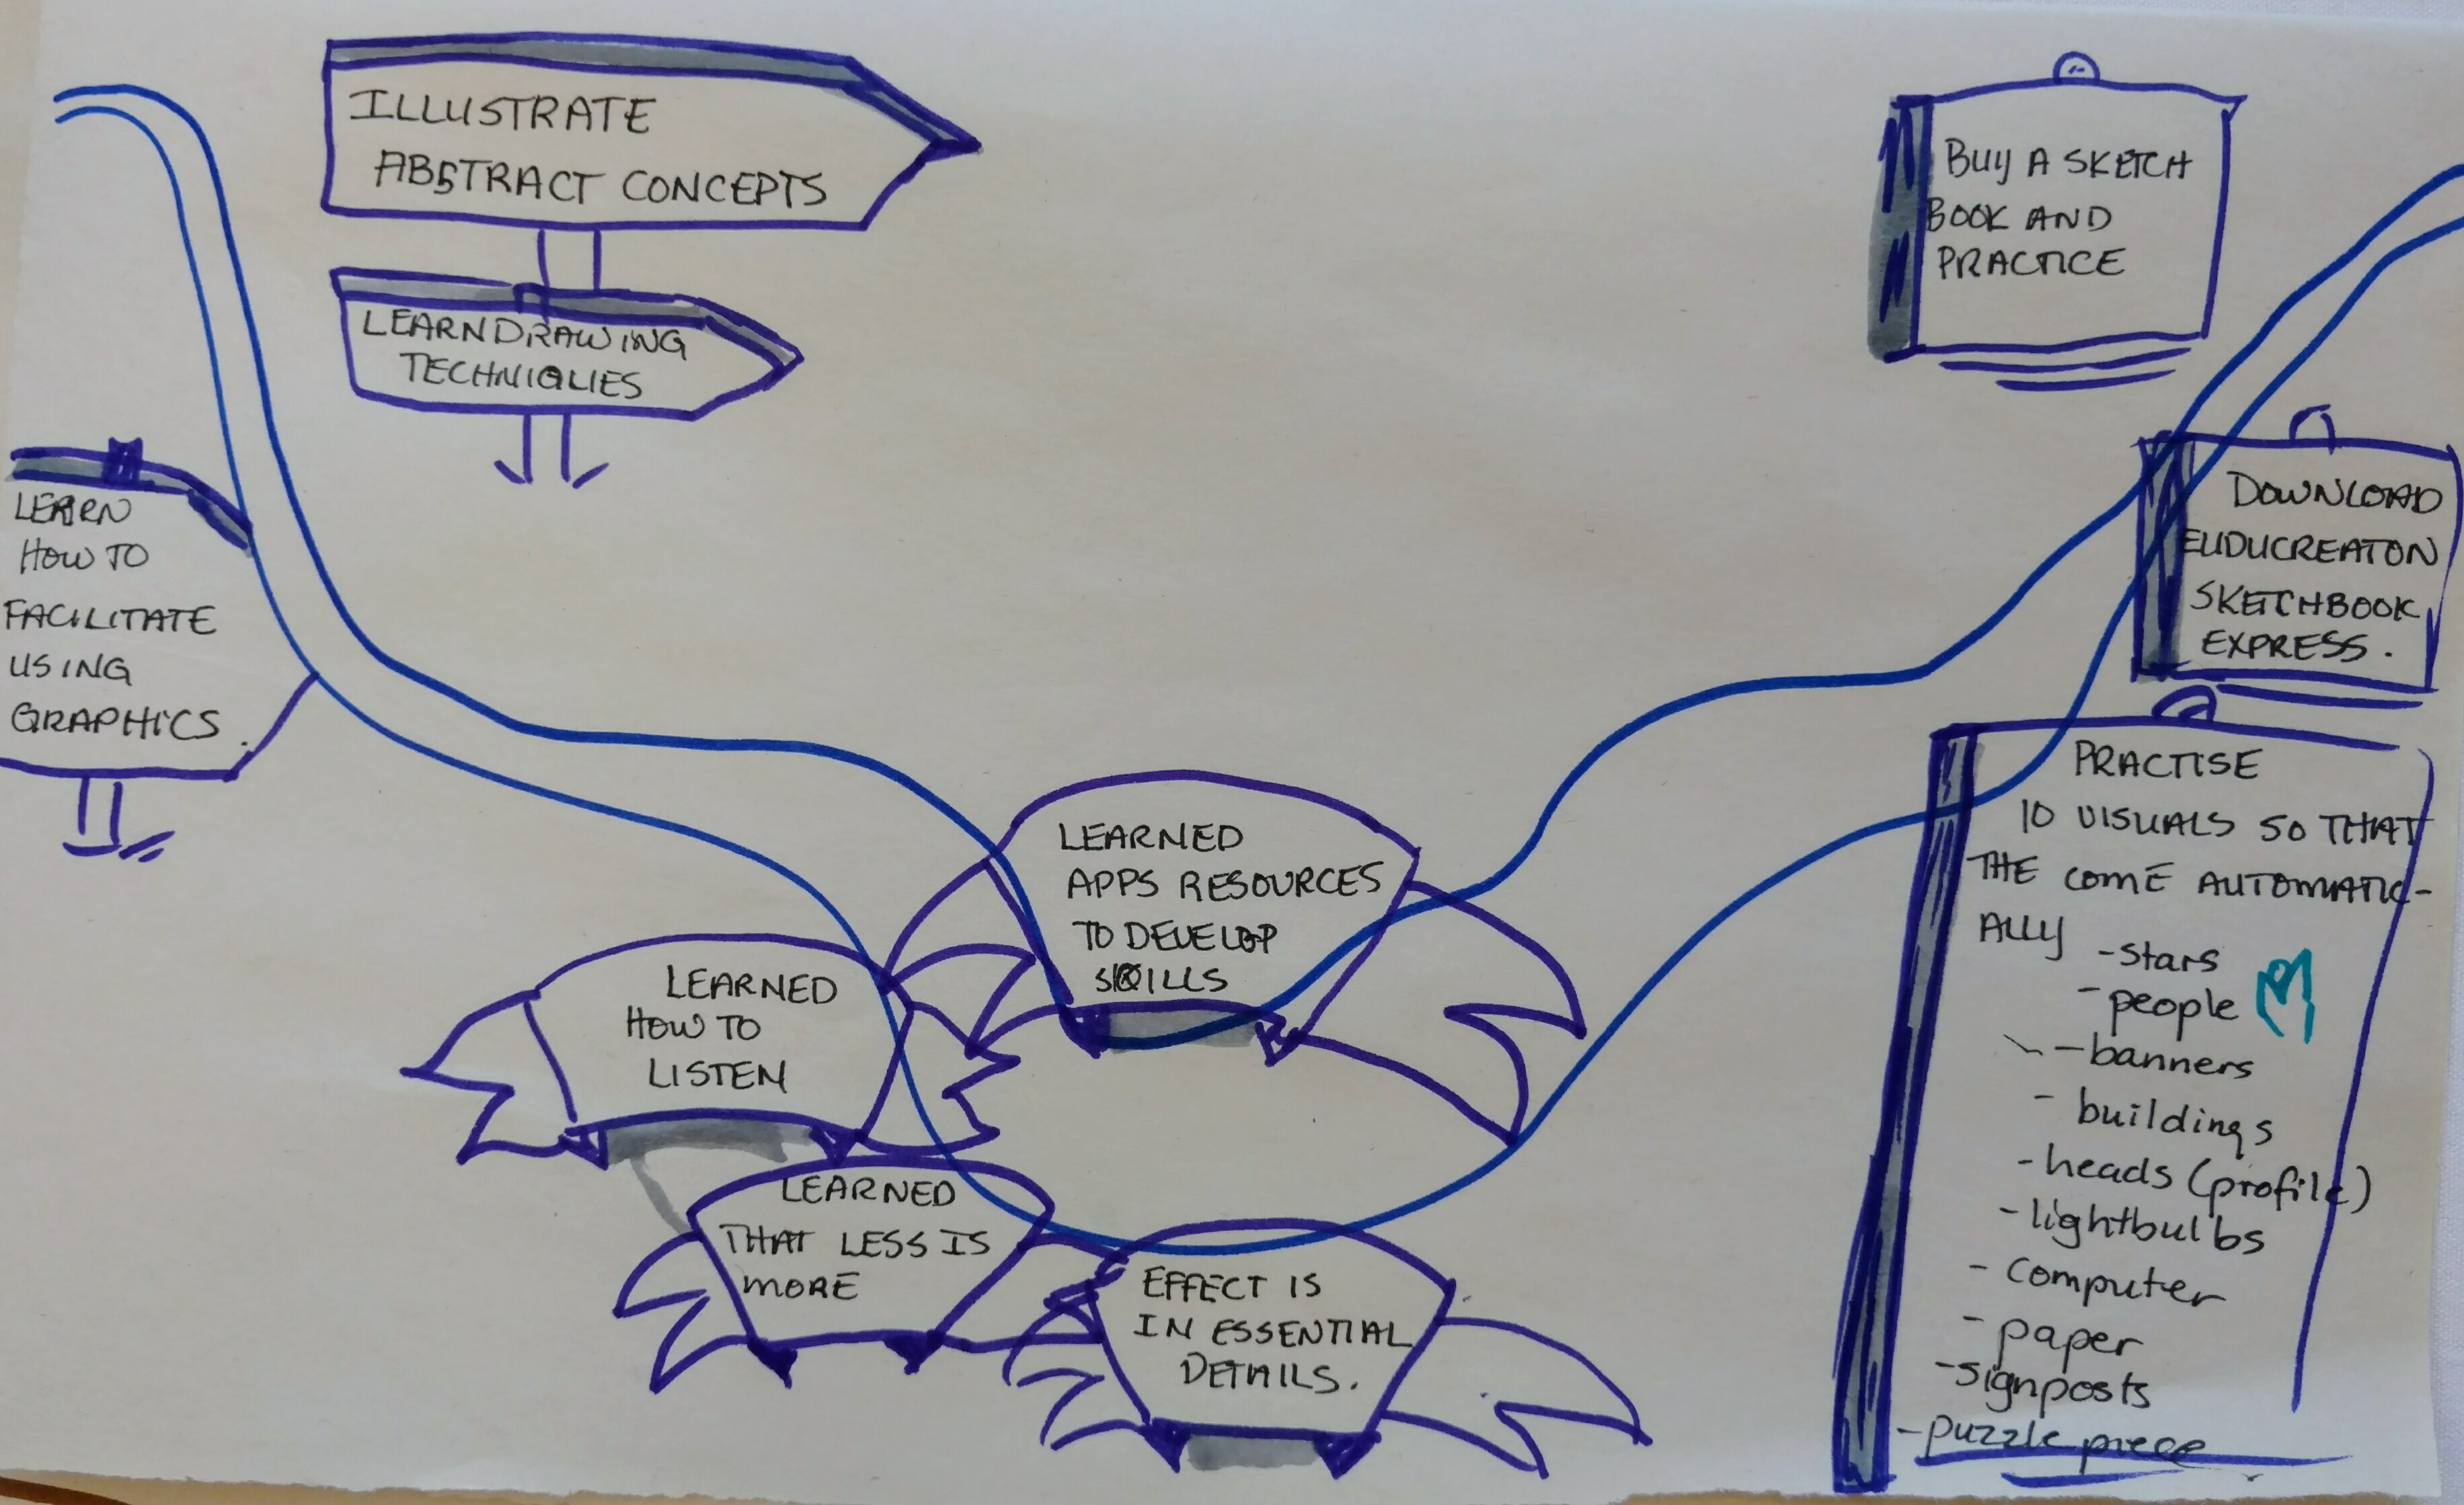
the future – your next step in using the skills. You can see some samples of the Rivers here: https://goo.gl/photos/iaLHerqP3ZS1K3RBA. We also offered a small visual grid on the way out where they could leave impressions – but I think by then we had fully exhausted everyone!

What We Learned

Here are a few snippets from the evaluation:

  • 85% of respondents said it was a high quality learning experience and 93.8% said they can apply what they learned to their work.
  • I enjoyed being challenged to approach what I normally do in a new way.
  • The facilitators created a safe environment for us to try out new ideas. Plus it was just plain fun to get out of the office and do something I have never done before.
  • I learned so much about some of the basics of visual practice that I feel confident learning more on my own now. That is important! and I also gained confidence in drawing…I learned to let go of the critic and just practice. Okay, the critic is still there and hasn’t been let go of but is quieter.
  • I learned a lot – both how to draw things and how to use the things I draw

We had some moments of dissonance as well. Some felt the afternoon was not as well structured as the morning. And of course, some loved the food, some did not. THAT is not a problem I have ever been able to solve!

In the mean time Tracy and I have been exchanging our personal reflections via email.

Nancy:

  • I continue to be invited into fabulous collaborations every time I co-facilitate a graphic facilitation workshop. From Michelle Laurie for our RosViz workshops, to Tracy I am just damn lucky.
  • Yes, you can do a workshop with results in one day. I used to think we really needed two days which feels like a luxury these days with people so busy and short of time and resources. With each iteration the agenda gets sharper.
  • USE the darn visual agenda (it was at the far end of a long room… I should have positioned it better)
  • Don’t overpack the agenda. As I’ve mentioned in other blog posts, I’ll be learning this the rest of my life, but I think we exercised appropriate restraint.
  • Work hard, hard, hard to reinforce each specific idea for application. In all the hullabaloo, this is so easy to lose.
  • Get clearer in how I express some of the fundamental ideas. I do get lost in my own obscure jargon. Argh!
  • I need to practice my own drawing more, but I remained convinced that my imperfection is an invitation not a straight up weakness! 🙂
  • Have good food. THANK YOU BCCampus!!!

Tracy:

  • My VizEd course/practice is expanding from a very heavy leaning into graphic recording into broader Viz practices, with specific hooks for supporting education and organization processes. In the future, I will continue to include more smaller scale work than I have done before (bonus: less paper) and give a bit more air time and encouragement for sketch notes. This means my sketch note practice needs to improve too.
  • I still feel like end of day harvest/how we end isn’t what I want it to be (though I confess I love that I have my “river” from taking your course to look back on).  When I do this course solo, we finish by doing our first large scale GR and gallery walk, which is like “yay” and “omg look at it all! we did it!” I like that vibe to launch them OUT the door. But it may not be the most useful for all people, will continue to give thought… (Nancy nods in agreement.)

Photos: https://goo.gl/photos/giyTDeXPxAk2KF3R8 (mine) and those of BCCampus https://www.flickr.com/photos/61642799@N03/sets/72157677749832233/with/32498695293/ 

Slides: VIZED-BCCampus Slides for Sharing

» Graphic Practices in Higher Ed: VizEd 2017

Source: » VizEd 2017

Happy, Happy, Happy dance! I get to offer a workshop with the fabulous Tracy Kelley of BC Campus in February on visual practices in higher education. (She made the visual above which I LOVE!) AND PSST, the early bird deadline is NOVEMBER 15th. You can read all about it here. It is one of two workshops we are cooking up. The second is a Liberating Structures immersion workshop and I’ll blog about that separately as I want to share some of the planning process.

I’m particularly excited that we are focusing the practice in all sorts of higher education contexts – teaching and learning, administration, design and… well, ANYWHERE! (Yes, all caps. Yes, EXCITED!)

Here is the blurb:

Have you ever noticed that moment when people are talking about something, then they whip out a pen and start sketching? Or when a conversation breaks open because someone goes to the whiteboard and draws something?

We are beings with many senses, but we often forget how powerful it is to make meaning using words and images. There is something so negotiable about rough little sketches that invites us deeper into understanding, instead of trying to “be right” or “prove my point.” Everything becomes just a little bit more negotiable.  This is the power of creating visuals with and for each other.

Join us for a hands-on, full-on day of exploring the opportunities and practices of bringing hand made visuals into our teaching and learning. (P.S. “handmade” can mean electronic too!)

We will warm up with some exercises to banish our inner critics, then explore practices for going visual in our work. Bring your challenges! Bring your ideas!  Bring your inner learner, your inner teacher and your inner child as we explore visual practices together.

What you can expect:

  • Tips and practice for basic drawing skills (Courage! Confidence! Color!)
  • Examples of visual exercises and activities, and where they might be useful in your work in higher education
  • Explore templates for collaborative visual meaning making
  • Experiment with the intersection of group process and visuals

THERE ARE NO “ARTIST” PRE-REQUISITES!

What to bring: 

  • Bring a notebook, your phone (or other camera) to capture visuals that inform and inspire you.
  • You are unlikely to use a laptop during the workshop, but you might like to bring a tablet (and your favourite stylus if you have  one!)
  • Wear your most comfortable clothes and shoes you can get dirty (ink, chalk, etc.)

Register here.

Can we role model graphic recording? Part 3 in the series

logo_gfrasBackground: This is the third of three posts about some recent visual experiences at the  7th Annual GFRAS Meeting in Limbe, Cameroon, where I was invited as their graphic recorder! As I noted in Part 1, it is a huge investment of resources – theirs and mine – to have me there for the meeting, so I asked if I could also run a short “introduction to graphic recording” the before the event kicked off, and then we could have the participants fan out across the breakouts and field trips to capture sketch notes. The second post in the series shares a few stories and artifacts from the workshop participants about their sketchnoting at the meeting and after they returned home. How are they using their new skills? This third part shares the graphic recordings I did with a little reflection on my own process and the element of role modeling graphic recording skills – particularly the listening and synthesizing skills. 

The #GFRAS2016 Annual meeting started on a Monday afternoon, had a full day on Tuesday, field trips on Wednesday and a final day on Thursday. My graphic recording charge was a chart for Monday, Tuesday and what was needed for Thursday was “emergent.” The field trips were “harvested” by our newly-trained sketchnote artists from Monday’s workshop. (You can see the agenda here.)

Day 1 – Opening

img_20161003_163440

nancyrecordingby keerthiraj siddapuraAs one might expect in Cameroon, there is still a strong sense of formality and meetings being opened by dignitaries. In my experience, they often arrive late. This time they were EARLY and we scrambled to get in the room and set up. There was a very small window for set up, but it was so cool that the Fine Hotel made a recording board for me. You can see how lovely and BIG it was in the photo by Keerthiraj Siddapura at right. (Thanks, Keerthiraj – also one of our newly minted graphic recorders. You can see his full set of photos here.)

The formal opening was in French and the sound was VERY difficult, so the contents of the formal opening were … um… brief. The fact that Limbe is known as a “town of friendship” was the key piece for me. Graphic recording through translation is a tricky proposition at best. The second part of the opening was a conversation between the outcoming and incoming secretaries of GFRAS… the handing of the baton.  So overall, it was a pretty light piece for day one. You can visually see I still battle my “right hand downward tilt” as I record.

What was super fun was that for many in the room, this was their first time seeing graphic recording in action… including most of Monday’s workshop participants. So there at the back of the room I got a lot of attention between sessions and during breaks with people asking me “how do you DO this!” When the new GR’s passed by, we did a bit more analysis – what was working for me, for them and more importantly, what was challenging.  It was a good place of learning.

Day 2 – Keynote and Conversation on Agripreneurship

img_20161004_112341395_hdr

I was very luck to share a cottage with Day 2’s keynote, Dr. Merida Roets of South Africa. As we chit chatted over shared chocolate, I learned more about her, her work, and this strange new concept to me, Agripreneurship. (Know that this is a hard word for me to spell. I had to keep practicing.) After her talk, a panel came up to comment and their input is on the left. There is still a bit of jargon in here, like RAS (rural advisory services).

Merida had never had her talks recorded, so this was a fun new experience for her as well. Remember, she also took Monday’s workshop, so I could see the wheels turning in her head when she came by afterwards at my request to see if I missed or got anything wrong. In the end, she took this piece home with her, with a clear idea of where she was going to hang it in her offices. It turns out that while Merida and her team have been promoting and building agripreneurship capacity with rural farmers in South Africa, they had never heard of the term before either! 😉 Language is a funny thing.

By the way, the colors in these images are not very good. The lighting was difficult in the space. They look a little dull here. But as I was doing some coloring with Pan Pastels, it was also a time where our new GRs used the materials and tried shading and coloring on their sketch notes. So in the end, my space ended up as a little graphic recording lab at the back of the room for the full meeting.

In the afternoon I facilitated one of the four break out sessions and as part of my duties, created visuals for the report out on Thursday. I used Paperby53 to create a base image, then built on top of it to break out each of the elements for our presenter to share.

img_0483 img_0485

Day 4 – Harvest and Network Assessments

Day three people fanned out across the region to visit agripreneurs, farming cooperatives and other locations to see the work in action. Then on Thursday, the morning was the harvest of the Tuesday breakouts and Wednesday field trip reports. The field trip reports are at the bottom and the four breakout reports at the top. I used the metaphor of weaving basket threads together…sort of.

img_20161006_122445

My intention on this chart was to allow individual parts of the image to be pulled out in close up photos so that they could be woven into the meeting documentation. You can click on the thumbnails below to see some examples. All the images were provided digitally to the GFRAS team.

Next there was a network assessment activity led by Kevan and Alexa Lamm. Most of this session was work in groups, so I briefly captured their introduction on my iPad and then animated the sequence. This was done simply by saving the image as different files along the way. (Let’s see if the animated GIF plays correctly in the blog post. If not, you can find it here. )

kevan-lex-animation

I had made a few other iPad images as a way to demonstrate some electronic graphic recording.

There were some other paper sketches I made… nothing really worth sharing… but to empathize with our team that sometimes it can be hard to really pull something of substance out of short and informal presentations.

It was a great experience working with the GFRAS secretariat and all of the participants. I took MANY pictures with people in front of the images… lots of smiles. It has been a while since I did straight up graphic recording and not only was it fun (and sweaty – did I mention the aircon mostly did not work?) but it was a great way to link the workshop on Monday to real practice, to be able to reflect together on our work, and of course, to always remember how much more there is to learn!

Can we actually practice graphic recording after just a 4 hour workshop? Yes! Part 2

Background: This is the second of three posts about some recent visual experiences at the  7th Annual GFRAS Meeting in Limbe, Cameroon, where I was invited as their graphic recorder! As I noted in Part 1, it is a huge investment of resources – theirs and mine – to have me there for the meeting, so I asked if I could also run a short “introduction to graphic recording” the before the event kicked off, and then we could have the participants fan out across the breakouts and field trips to capture sketch notes. This second post in the series shares a few stories and artifacts from the workshop participants about their sketchnoting at the meeting and after they returned home. How are they using their new skills? Part 3 will share the graphic recordings I did with a little reflection on my own process. When I publish #3, I’ll come back and link it here as well!

Unleashed across breakout sessions, field trips and plenaries, many of the participants of our short graphic recording workshop took their pens and notebooks to try and capture the essense of sessions as sketch notes. Remember: these people walked into the workshop with little or no sketchnoting experience. Just a fire in their bellies and a willingness to try.

The first experiments were just with pen, mostly on the small conference spiral note books. You can see the experimentation with how to organize the ideas on the paper and a great deal of courage focusing on the images, not just relying on text.

At one point after a plenary, a few folks stopped by my graphic recording station and we did some mini debriefs and talked about introducing color. The magic was instantaneous… (not that I don’t like black and white, mind you!). Click the images for a larger and fuller view!

By the end of the week, our intrepid team had introduced metaphors and ways to organize space on the page along with some clever extras.


But wait, this is not the end of the story! What happened after everyone has gone home? I have two stories to share already (and hopefully I will glean a few more.

Merida Roets, who was also our day 2 keynote and my wonderful roommate at the hotel, was already planning to offer her staff a brief graphic recording session upon her return to South Africa. (I’ll share the capture of her keynote in post #3). They may have wondered what Merida was up to, but she immediately applied her learning to her work with her project developing some learning materials for the South African Sugar Association. She shared an image with me as an example. (I can recommend Merida for both her intelligence and love of chocolate!)
sugar-cane-farmer-in-field
Finally, one of the workshop participants who was already deeply into visual practices for agricultural development, Luke Smith, who is the AgriEdutainment Officer & ICT Director of WhyFarm that originated the world’s Food Security superhero  “AGRIman” as a way to engage younger folks in agriculture , wrote ” I have used the graphic facilitation method with some children in a workshop. I didn’t have all the materials required to execute they way I wanted too. I showed the children  the basics as you showed us in the training. I then gave them the problem of how can we increase food production by 2050 and told them to use the icons, arrows, symbols to come up with a solution.
The children drew there ideas on a copybook page, I didn’t get time to take a photo as the session ran out of time . But I was amazing that some kids drew the ideas of doing farming underwater. I want to try this method again but with flip charts and markers etc. I will certainly capture the use of graphic facilitation the next time. ”

agriman
Agriman

And for a bit of fun

Can we learn graphic recording in 4 hours and actually DO something? YES! Part 1

Rarely do I get to go to an event with graphic recording as my primary duty. It is often an “extra” that I include in my facilitation practice. This year I was invited to the 7th Annual GFRAS Meeting in Limbe, Cameroon as their graphic recorder! Because it is a huge investment of resources – theirs and mine – I asked if I could also run a short “introduction to graphic recording” the before the event kicked off, and then we could have the participants fan out across the breakouts and field trips to capture sketch notes. I can’t be everywhere at once so this gave us some immediate practical coverage, but more importantly, I wanted people to see that this is an accessible, practical and usable practice. This first post is about the workshop itself. Part 2 will share a few stories from the workshop participants about their sketchnoting at the meeting and after they returned home. How are they using their new skills? Part 3 will share the graphic recordings I did with a little reflection on my own process. At the bottom of this post are links to other visual artifacts from the week in Cameroon.

The Workshop

img_20161003_103006995_hdrWhat can you do in just under four hours to help people master the basics of graphic recording? It turns out, you can do quite a lot. I love starting with the fabulous paired drawing activity I learned from Johnnie Moore.  In the debrief it always raises so many useful aspects about how we pay attention to and communicate with each other. It creates some fun and some comfort with taking risks. And drawing for and in front of people can be a huge risk for many of us.


Then we got into the practice immediately. My graphic recording and graphic facilitation workshops (short or long) always start with liberating our inner artist using an exercise I learned from the fabulous people at the International Forum of Visual Practitioners (I took their GR 101 course years ago!).

The “I Can Draw” img_20161003_112308329_hdrexercise introduces people to simple, body-based ways to draw circles, lines, use color, write clearly and, for extra fun, how using different materials can change and bring a sketch to life (yay chalk and pastels!) It never ceases to amaze me how such beautiful creations emerge, and how empowering this is. The exercise also loosens people’s bodies up to use bolder strokes, bigger lettering and to explore how color can change a visual experience with very little effort.


img_20161003_121758496Next we dug into specific skills of drawing people, icons, metaphors and ways to arrange images on one’s paper or note-pad. Because all the work I do with communities, agriculture, development and such, EVERYTHING I work with involves people. And it STILL intimidates me to draw people. We face this head on with simple ways to draw people. Stick figures. Bean people. Star people. Spring people. I loved how Merida immediately riffed on her people to integrate them into the sustainability work she is doing. WINDMILL people!


img_20161004_133510By now people were getting excited, so this is when we started playing with icons, particularly icons that relate to their work, world or context. I have a card deck of silly icons I made years ago. I asked everyone to grab one that they attracted them, and then sketch that icon a number of times to build some comfort. People observed each others’ drawings, swaped cards and iterated. I encouraged people to take pictures of icons – theirs or others’ – that resonated for them. This is so often a practice of “see, imitate, iterate and THEN evolve one’s own style”. Some people have a style right away, like Raj. You can see it in the first sketch note he produced the afternoon after the workshop.

Finally, we put everything together and I challenged everyone to graphically record a short talk I improvise on the spot about preparing to graphically record. Granted, I talked slower, repeated things and even offer a few hints, but really trying to graphically record real time for the first time is VERY HARD. It challenges us to a) listen deeply and carefully, b) identify what points are important and should be captured, and finally, c) actually draw them on the paper. The group did amazingly well for such a short introduction.  Afterwards we toured each of the examples, identified strenghts and looked for something new for them to try the “next time!”

Here are some examples of their work. Click to see larger images.